import pandas as pd from pandas.io.json import json_normalize from elasticsearch import Elasticsearch
# Elasticsearch 객체 생성 es = Elasticsearch()
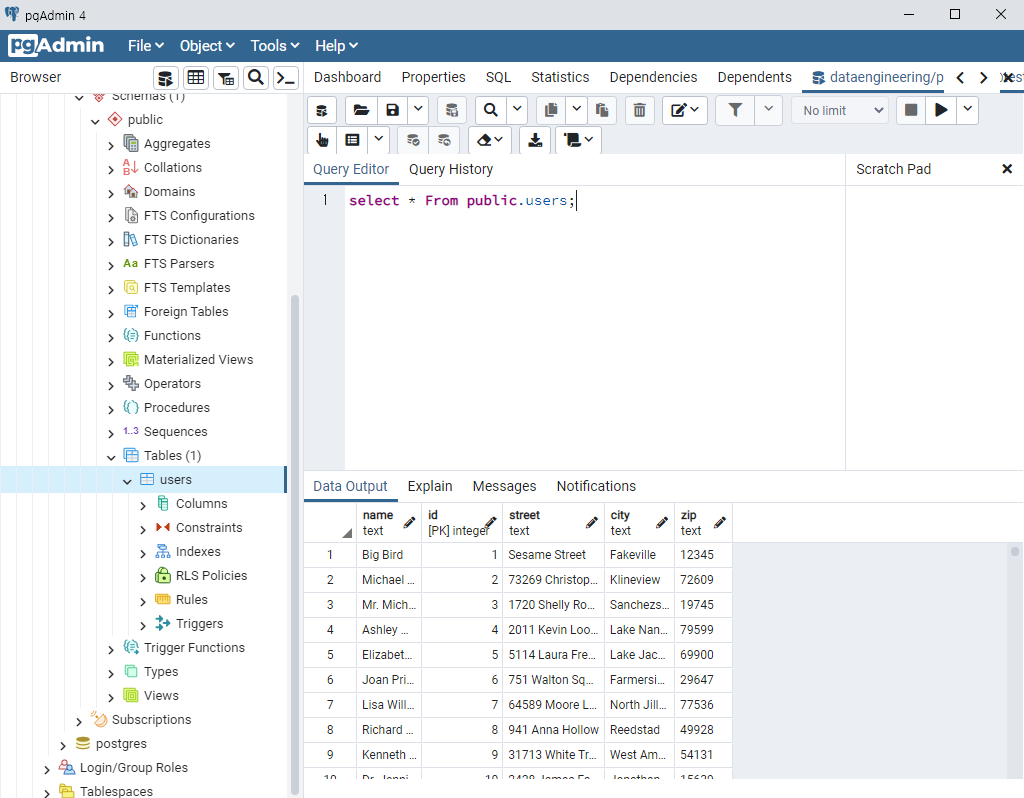
# 일래스틱서치에 보낼 문서 본문(질의 요청) JSON 객체를 만든다. # Matchall 검색 사용 doc = {"query" : {"match_all": {}}} res = es.search(index="users", body = doc, size = 500) # print(res['hits']['hits'])
# 루프로 문서를 훑으면서 각 문서의 _source 필드만 출력한다. # for doc in res['hits']['hits']: # print(doc['_source'])
# 질의 결과를 pandas DataFrame에 넣는 것도 가능 df = json_normalize(res['hits']['hits']) print(df.head()) print(df.info())
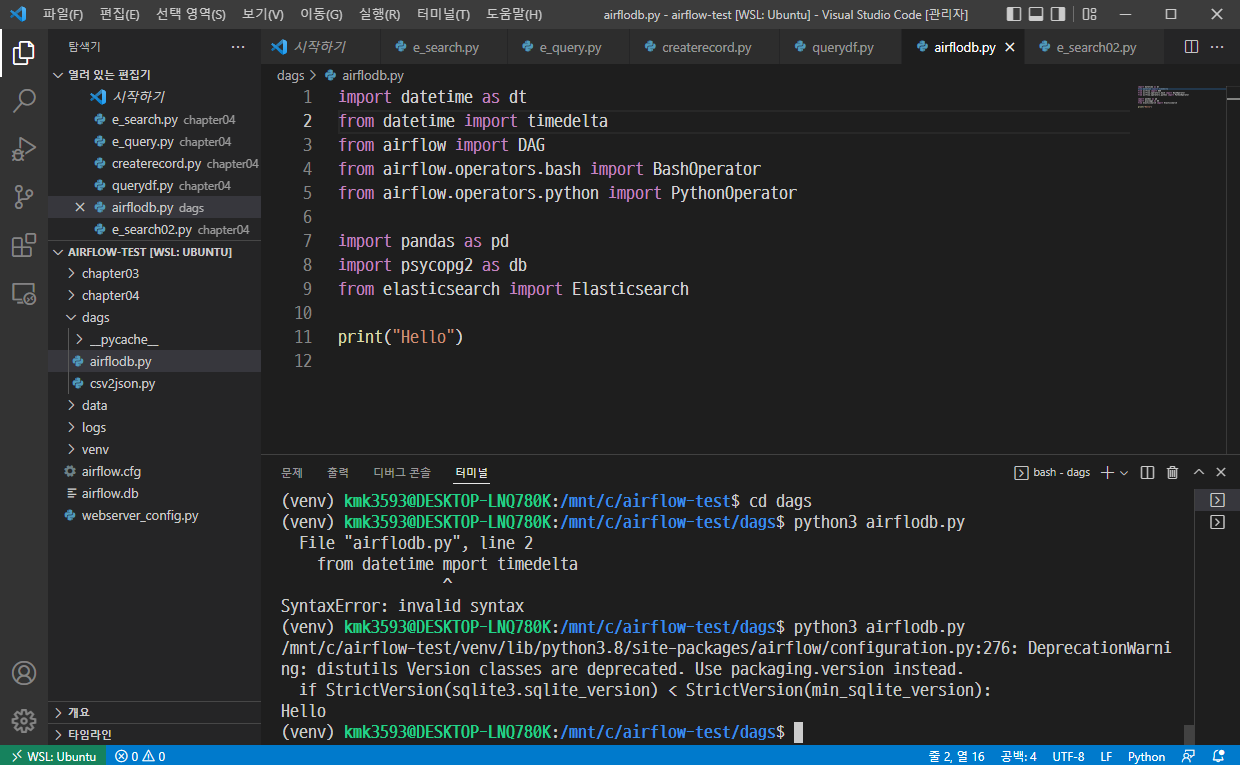
import datetime as dt from datetime import timedelta from airflow import DAG from airflow.operators.bash import BashOperator from airflow.operators.python import PythonOperator
import pandas as pd import psycopg2 as db from elasticsearch import Elasticsearch
# 데이터 불러오기 df = pd.read_csv("postgresqldata.csv") for i, r in df.iterrows(): doc = r.to_json() res = es.index( index="frompostgresql" , doc_type="doc", body=doc ) print(res)