PSQL practice 01
pgAdmin은 GUI 툴 (있으나 없으나 상관이 없음)
sudo service postgresql start
DB(형광등)—> 쿼리
         —> Select, insert, ...

    —> 형광등 켜야 불이 들어오듯 필수적이다.
실습
- 실무 예제로 배우는 데이터 공학 72p부터 따라한다.
VSCord 에서 Ubuntu Terminal 열기
→ 폴더 생성 : chapter04
→ 파일 생성 : step01_createdf.py
→ 내용 작성
import psycopg2 as db
# 호스트, 데이터베이스 이름, 사용자 이름, 패스워드
conn_string = "dbname='dataengineering' host = 'localhost' user='postgres' password='postgres'"
#집pc의 경우에는 password='201610974‘
conn = db.connect(conn_string)
cur = conn.cursor()
print("db connecting....")
print(cur)
( 아이디/ 비밀번호 모두 postgres인 듯하다)
→ 저장
→ cd .. → cd .. → cd mnt/c → cd airflow-test → cd chapter04
→ 실행 : python3 step01_createdf.py
→ 다음 내용이 출력되면 성공.
db connecting….
<cursor object at 0x7fa097ba86d0; closed: 0>
→ step01_createdf.py 파일에 다음 내용 추가하고 저장
1 | query = "insert into users (id,name,street,city,zip) values({},'{}','{}','{}','{}')".format(1,'Big Bird','Sesame Street','Fakeville','12345') |
→ 실행
- pgAdmin에서 실습 진행
→ 관리자 권한으로 실행 : pgAdmin
→ 비밀번호 : postgres
→ dataengineering 우클릭 → querytool
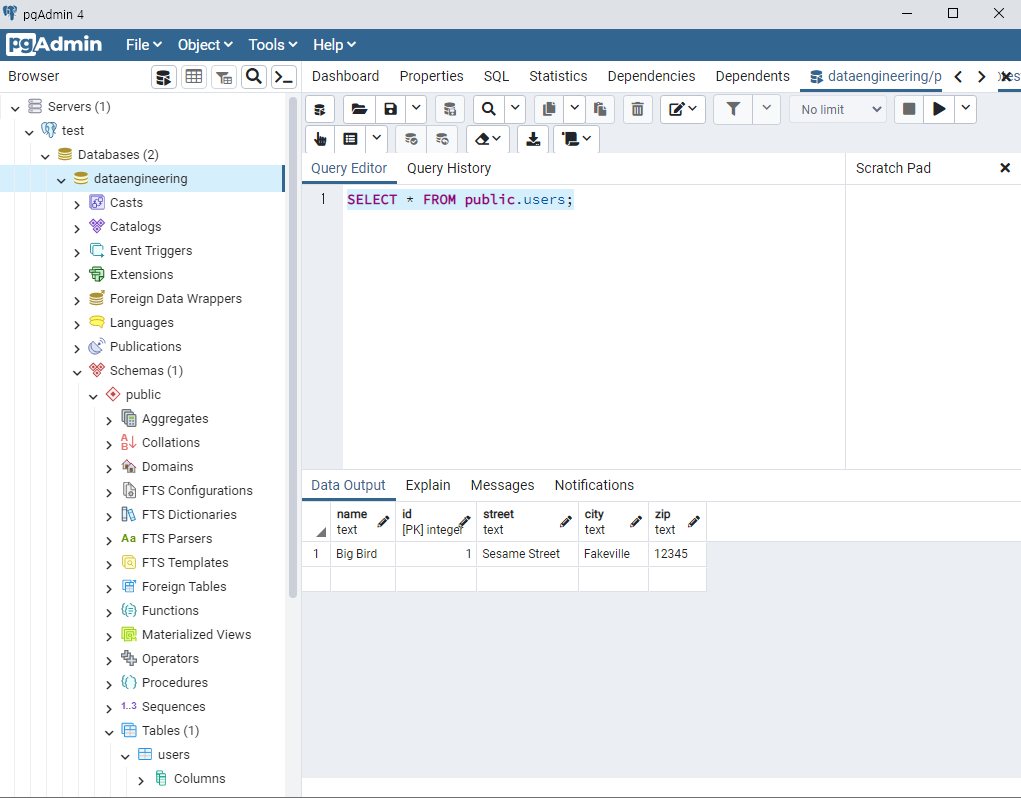
→ 내용 작성 : SELECT * FROM public.users;
→ F5 키로 실행한다.
→ 다음과 같은 결과가 나온다.
- VSCord 에서 새로 파일을 작성한다.
→ 파일 생성 : step02_insertmany.py
→ 내용 작성 ( 실무 예제로 배우는 데이터 공학 75p )
1 | import psycopg2 as db |
→ 저장 후 실행
→ 실행 완료
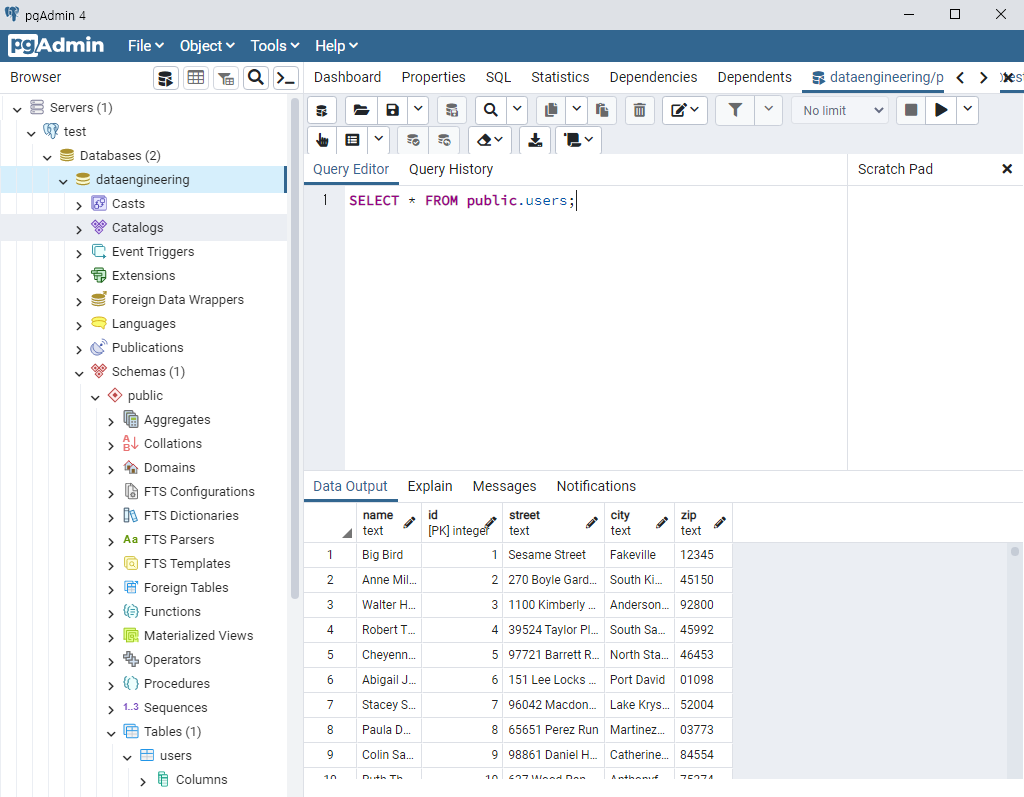
- pdAdmin 으로 이동
→ F5 키로 다시 실행
→ 다음과 같이 1000개의 데이터가 추가된다.
- Referencd : 실무 예제로 배우는 데이터 공학
PSQL practice 01
install_url to use ShareThis. Please set it in _config.yml.