Vue Cli
[인프런 강의] Vue.js 시작하기 - Age of Vue.js
CLI란?
- CLI = Command Line Interface
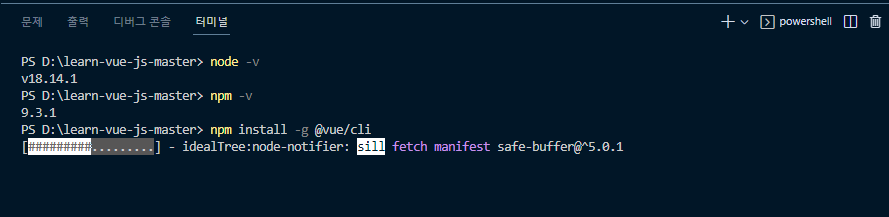
설치 방법
- 구글링 : vue cli
- Vue CLI 공식페이지 → Installation → 설치 코드 복사
- VSCode → 터미널 → 새 터미널
- 버전 확인
1 | // 10 이상인 버전이어야 한다 |
- 설치 코드 복사 붙여넣기
1 | npm install -g @vue/cli |
- 설치에 시간이 걸릴 수 있다. 대기한다.
CLI 버전별 차이
VUE CLI 2.X
- vue init ‘프로젝트 템플릿 유형’ ‘프로젝트 폴더 위치’
- vue init webpack-simple ‘프로젝트 폴더 위치’
VUE CLI 3.X
- vue create ‘프로젝트 폴더 위치’
- 더 간단하다
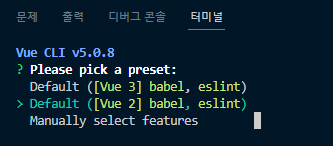
CLI 사용법
- VSCode → 터미널 → 새 터미널 → Command Prompt 터미널
- 생성 :
vew create [프로젝트 폴더 위치]
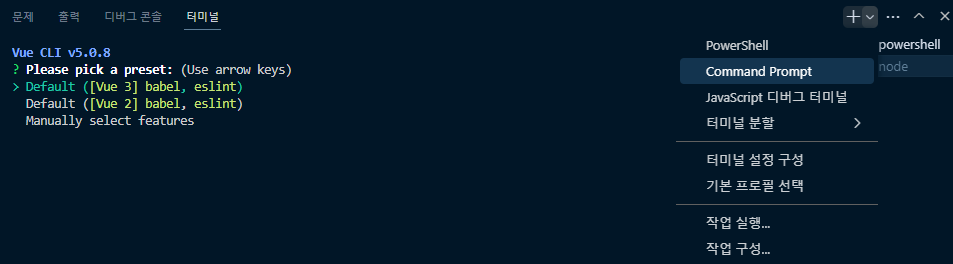
- Vue CLI 버전 4.5 이상이라면 Vue 2 선택한다
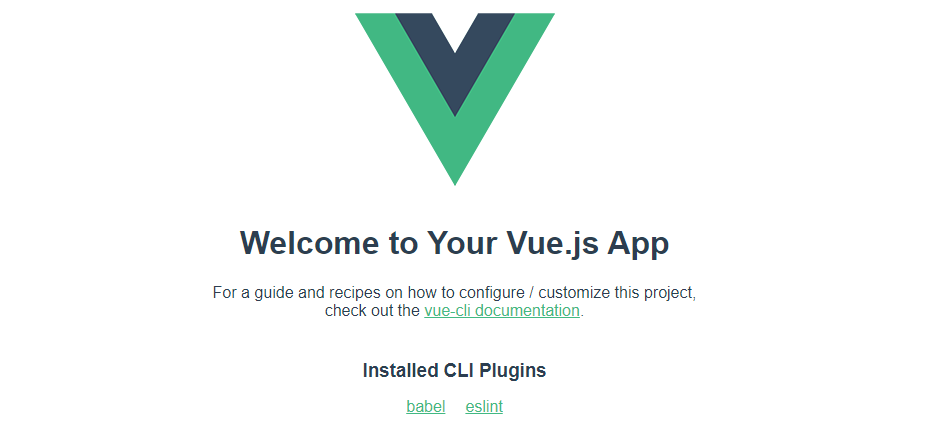
- 생성 성공 시 출력되는 메세지

- vue-cli 라는 프로젝트가 성공적으로 생성되었다.
- 다음 명령으로 실행시킬 수 있다.
1 | $ cd vue-cli |
- 명령 실행 후에 출력되는 주소로 이동
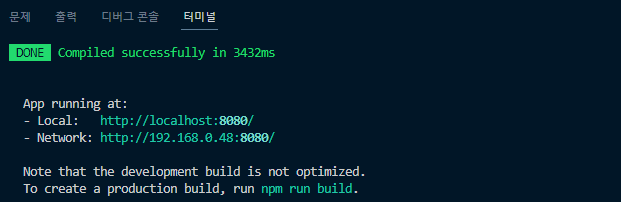
- 다음과 같이 출력되면 성공
CLI로 생성한 프로젝트 폴더 구조 확인 및 main.js 파일 설명
- 위 과정을 거치면서 다음과 같이 vue-cli 프로젝트가 생성되었다
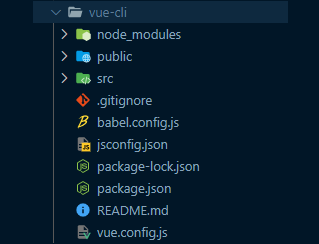
- vue-cli → src → main.js
- vue-cli → src → App.vue
- 참고 자료 : https://velog.io/@freejia/싱글-파일-컴포넌트-소개-및-App.vue
Vue 파일 구조
- 한 파일에 HTML , JS, CSS 가 모두 들어있다
1 | <template> |
개발할 때 고려해야 할 점
VSCord 플러그인 설치
- Vue 3 Snippets
- Vue 파일에서 ! Tab 과 같은 역할을 한다.
vueinit입력하고Tab
서버 실행 명령에 의해 출력되는 주소에 App.vue 의 코드가 반영된다
코드
1 | <template lang=""> |
- 결과

script의 문자 데이터를 화면에 출력
- 코드
1 | <template lang=""> |
- 결과

싱글 컴포넌트 체계에서 컴포넌트 등록하기
components 폴더 하위에 생성해야 한다
파일 생성 : AppHeader.vue
코드 - AppHeader.vue
‘renew’ 라는 이름으로 $emit 한다
1 | <template> |
- 코드 - App.vue
- AppHeader.vue의 $emit을 받아서 renewStr 함수를 실행
1 | <template> |
- 결과
- 버튼 클릭 → 문자 Header가 hi로 변경된다

You need to set
install_url to use ShareThis. Please set it in _config.yml.