Java Script 실습2
사전작업
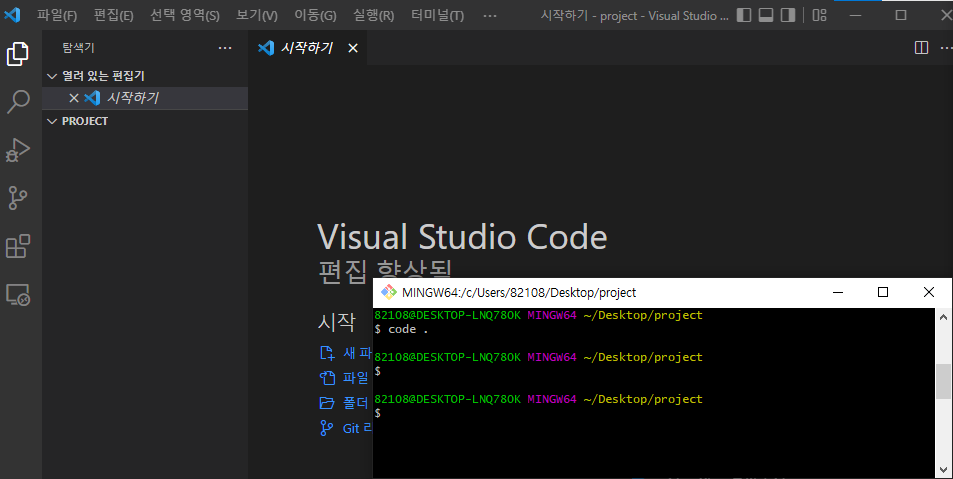
살행할 폴더 우클릭 : git bash here
VSCord 작동 :
code .폴더, 파일 생성
PROJECT 아래에 생성
- 폴더 생성 : step05_js
- 파일 생성 : ch01_index.html
JavaScript 작성
- ch01_index.html 에 다음 내용 작성
1 |
|
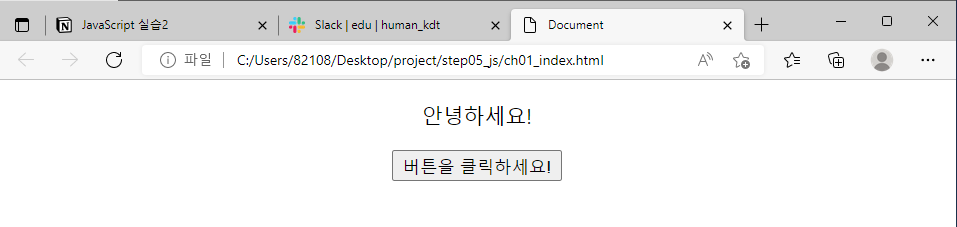
- step05_js 폴더에서 ch01_index.html을 오픈
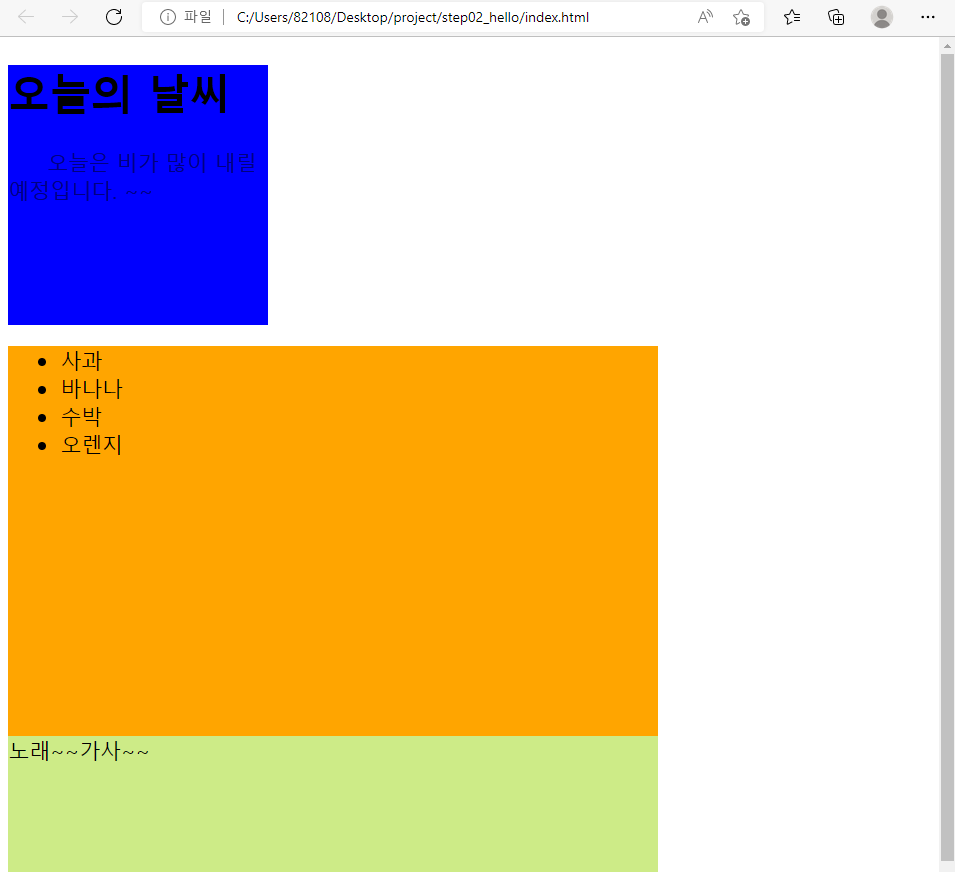
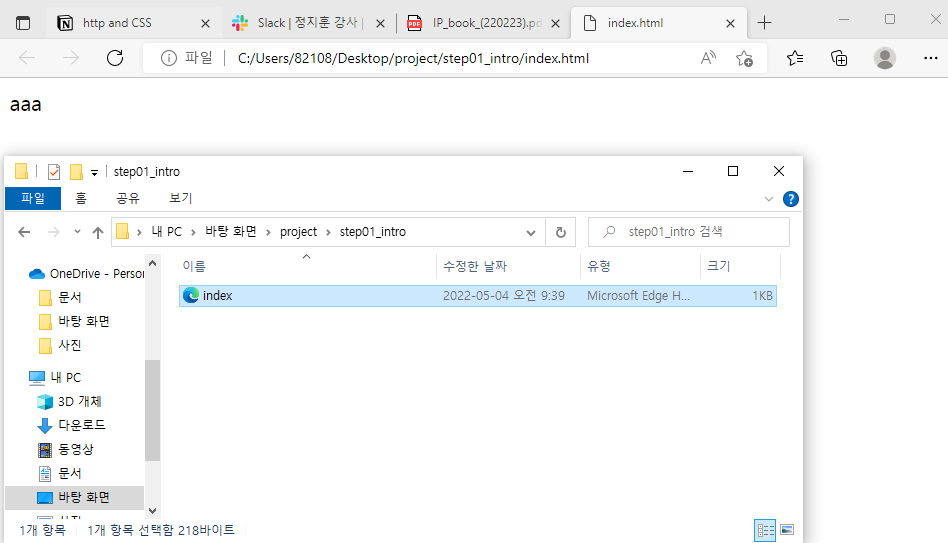
- 페이지가 출력된다.
스크립트 불러오기 사전준비
파일 생성
step05_js 폴더 아래에 생성
- 파일 생성 : ch02_1_js.html
ch02_1_js.html 에 다음 내용 작성
1 |
|
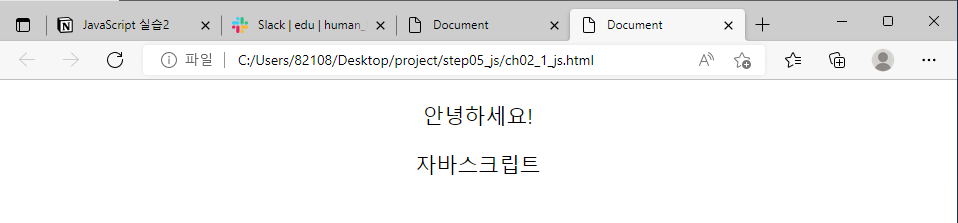
- step05_js 폴더에서 ch02_1_js.html을 오픈
- 페이지가 출력된다.
스크립트 불러오기 사전준비
파일 생성
step05_js 폴더 아래에 생성
- 파일 생성 : ch02_2_js.html
폴더, 파일 생성
step05_js 폴더 아래에 생성
- 폴더 생성 : js
- js 아래에 파일 생성 : myscript.js
ch02_2_js.html 에 다음 내용 작성
1 |
|
- myscript.js 에 다음 내용 작성
1 | document.getElementById('demo').innerHTML="자바스크립트"; |
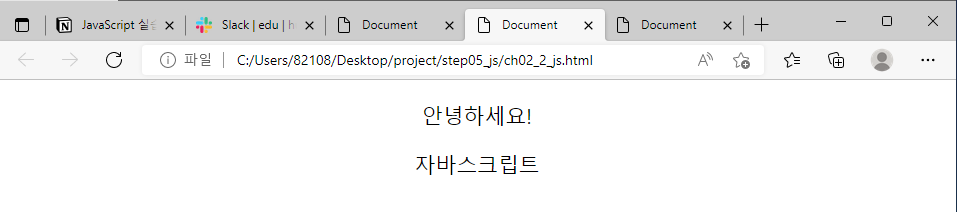
- step05_js 폴더에서 ch02_2_js.html을 오픈
- 페이지가 출력된다.
- html에 작성하지 않은 스크립트의 출력에 성공했다.
버튼
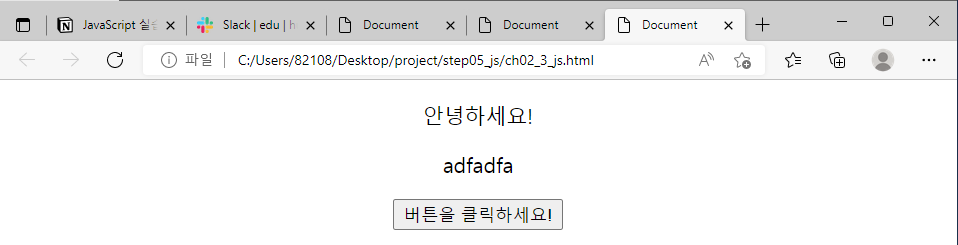
- ch02_2_js.html 에 다음 내용 작성
1 |
|
- step05_js 폴더에서 ch02_2_js.html을 오픈
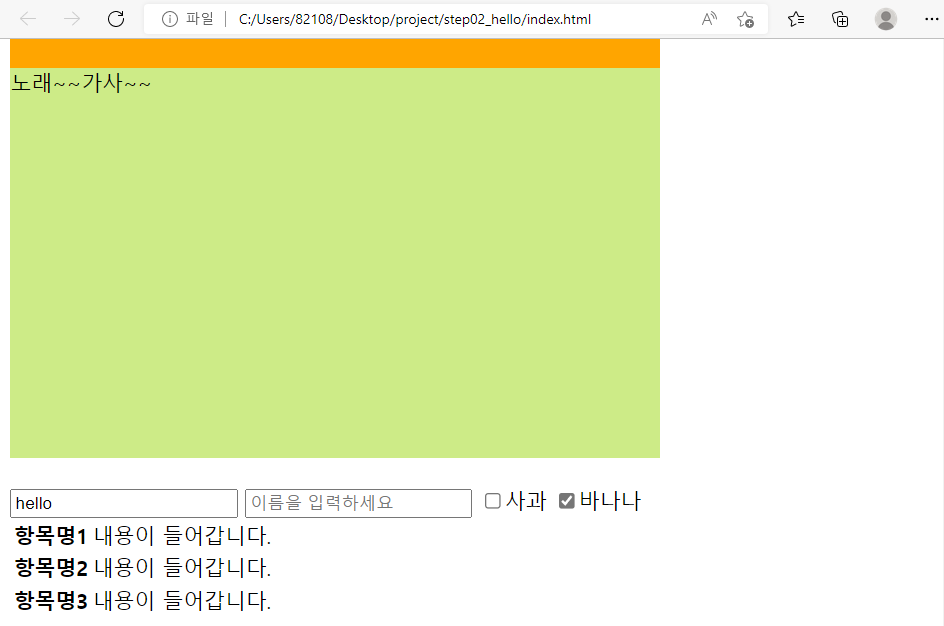
- 페이지가 출력된다.