Airflow 실습03
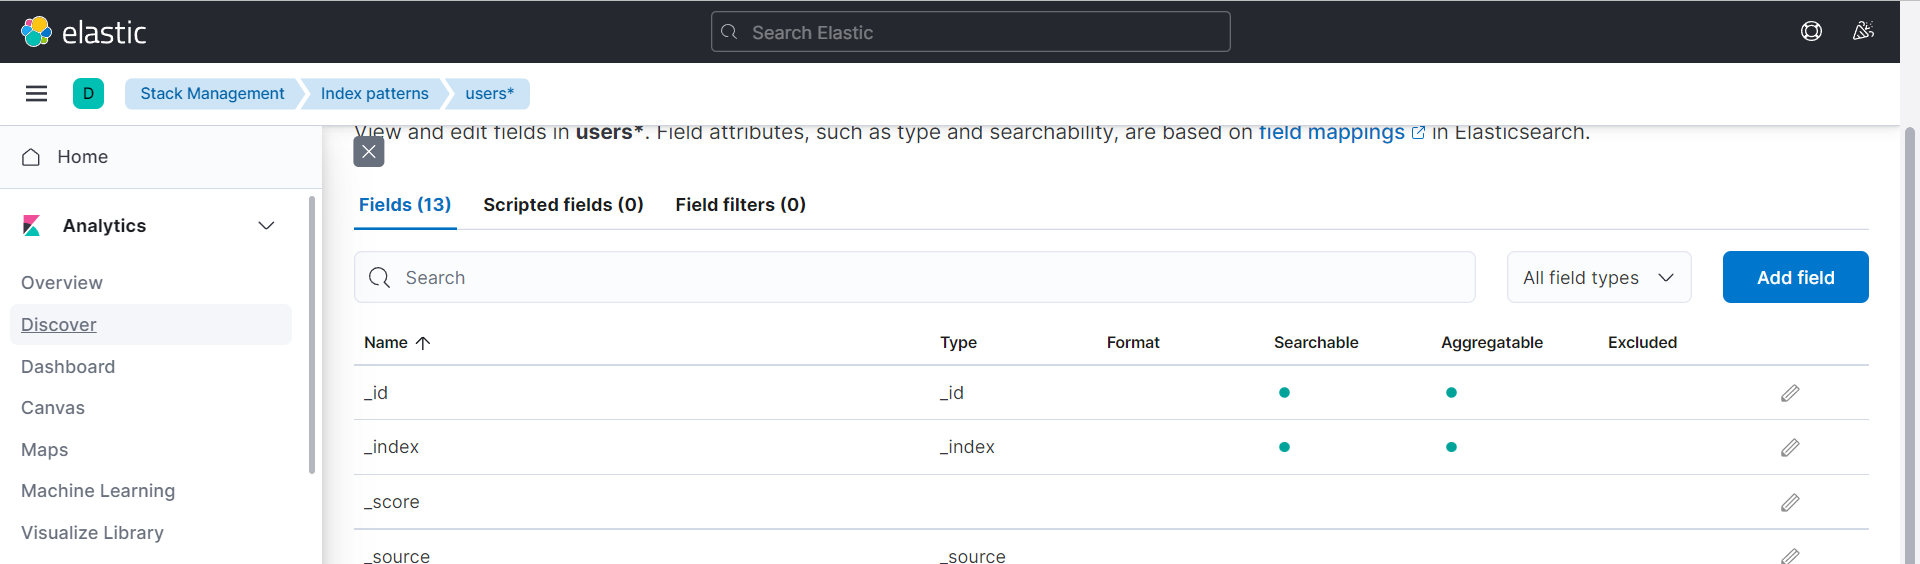
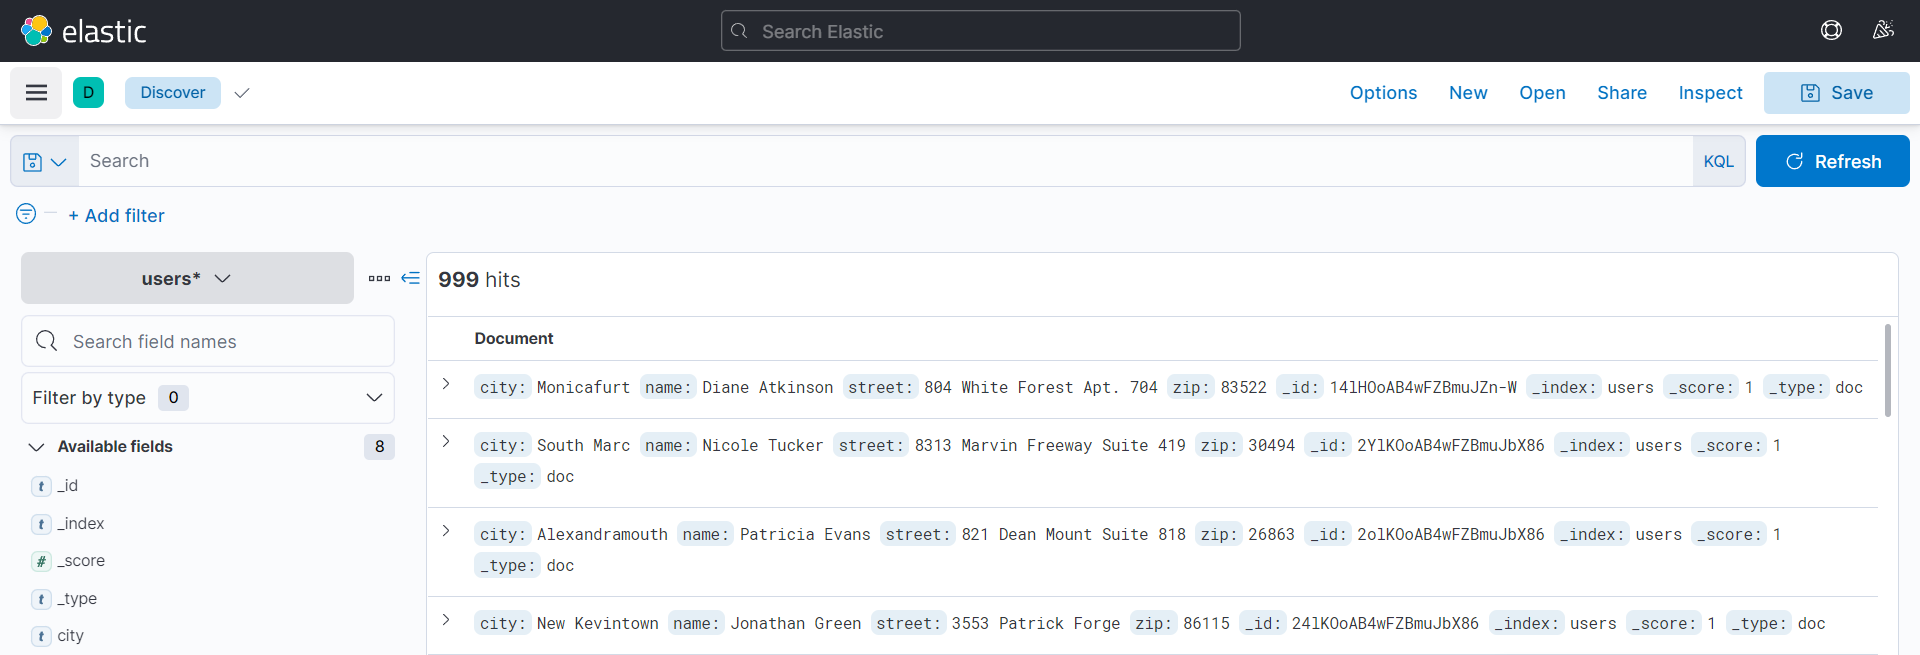
Elastic search 질의
- 실무 예제로 배우는 데이터 공학 83p
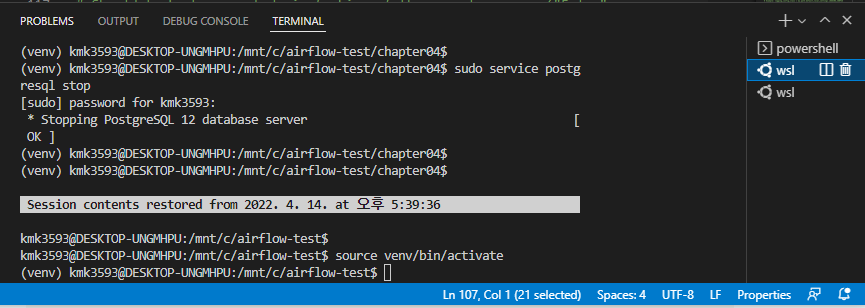
관리자 권한으로 실행 : Ubuntu
→ 경로 이동 : …airflow/
→ source venv/bin/activate
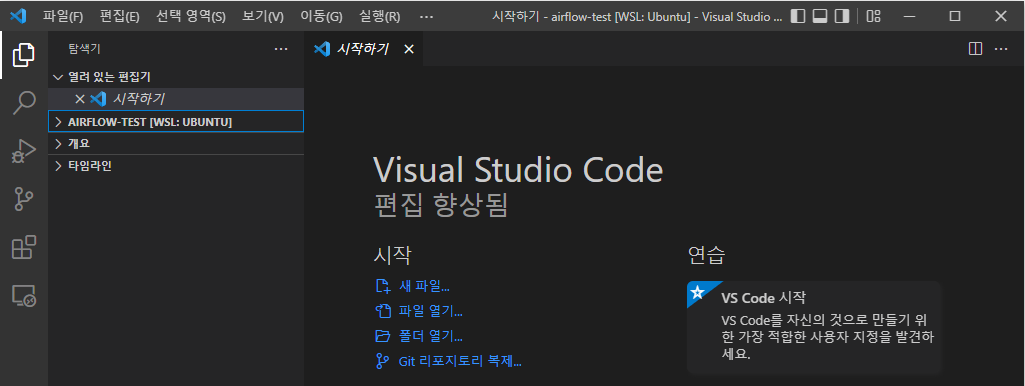
→ code .
→ VSCord가 자동 실행된다
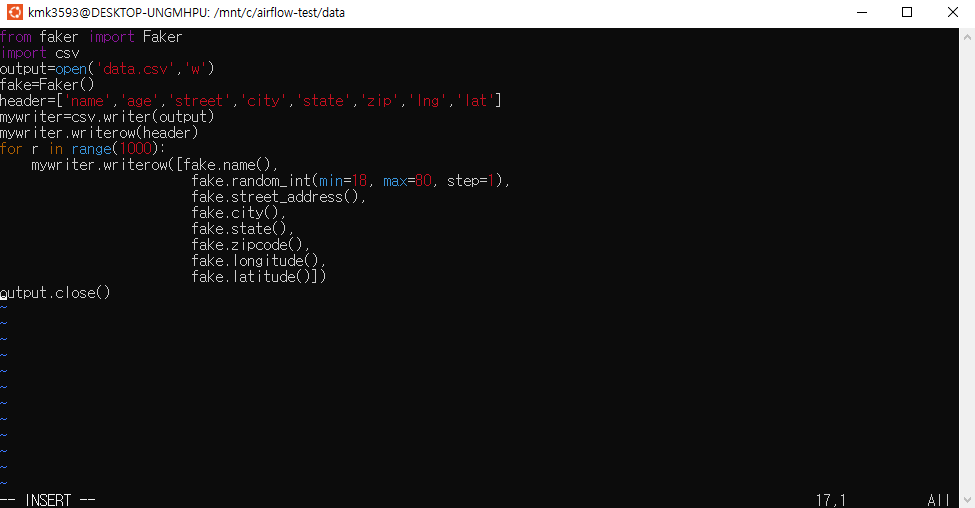
→파일 생성 : e_query.py
→ 코드 작성
1 | import pandas as pd |
postgreSQL → Elastic search 데이터 전송
- 교재 88p
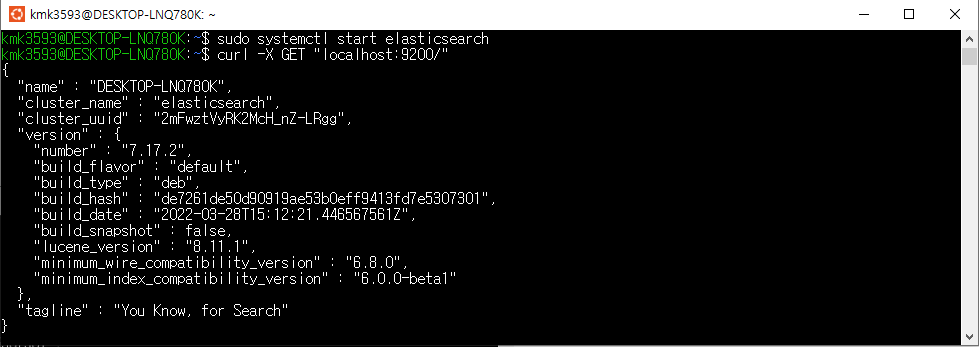
- Elastic search 가동된 상태에서 진행
→ 선행 학습 링크 참고 : postgreSQL 실습 (notion.so)
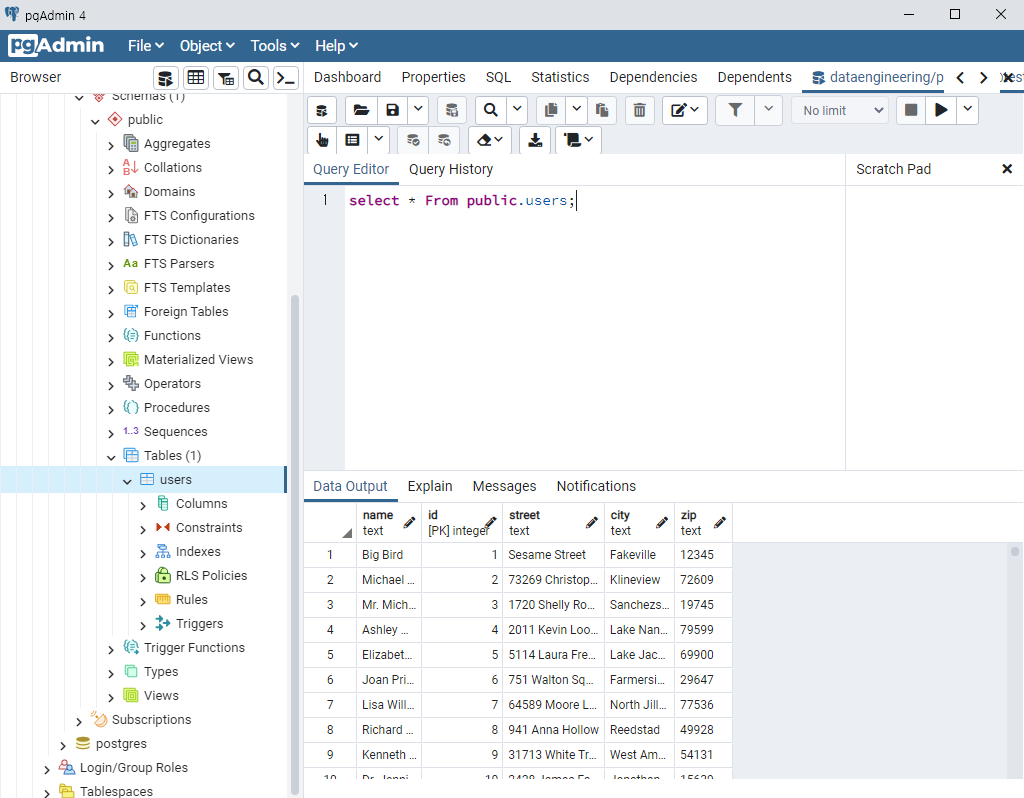
- pgAdmin 준비된 상태에서 진행
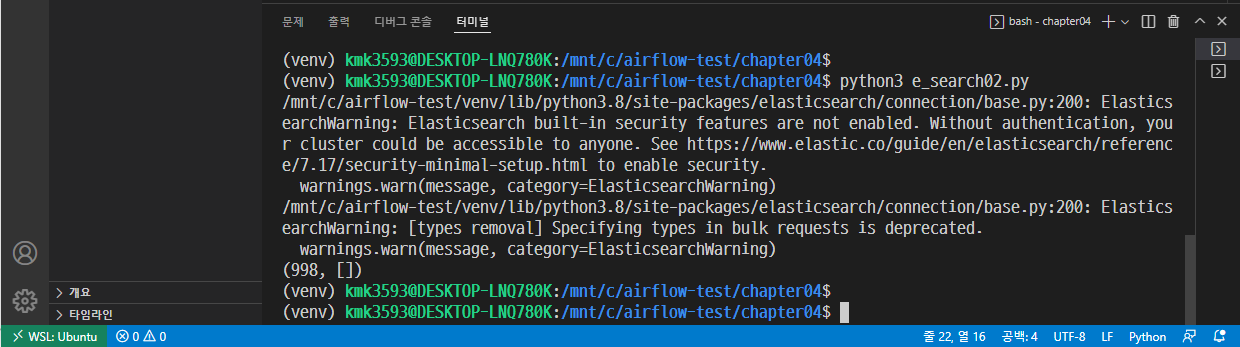
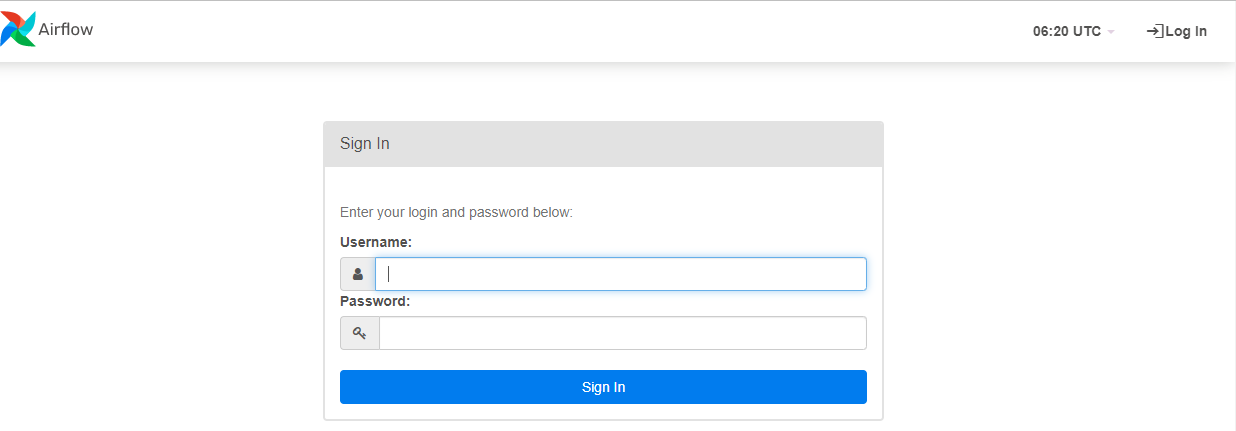
→ 다음과 같이 출력되는 상태여야 한다.
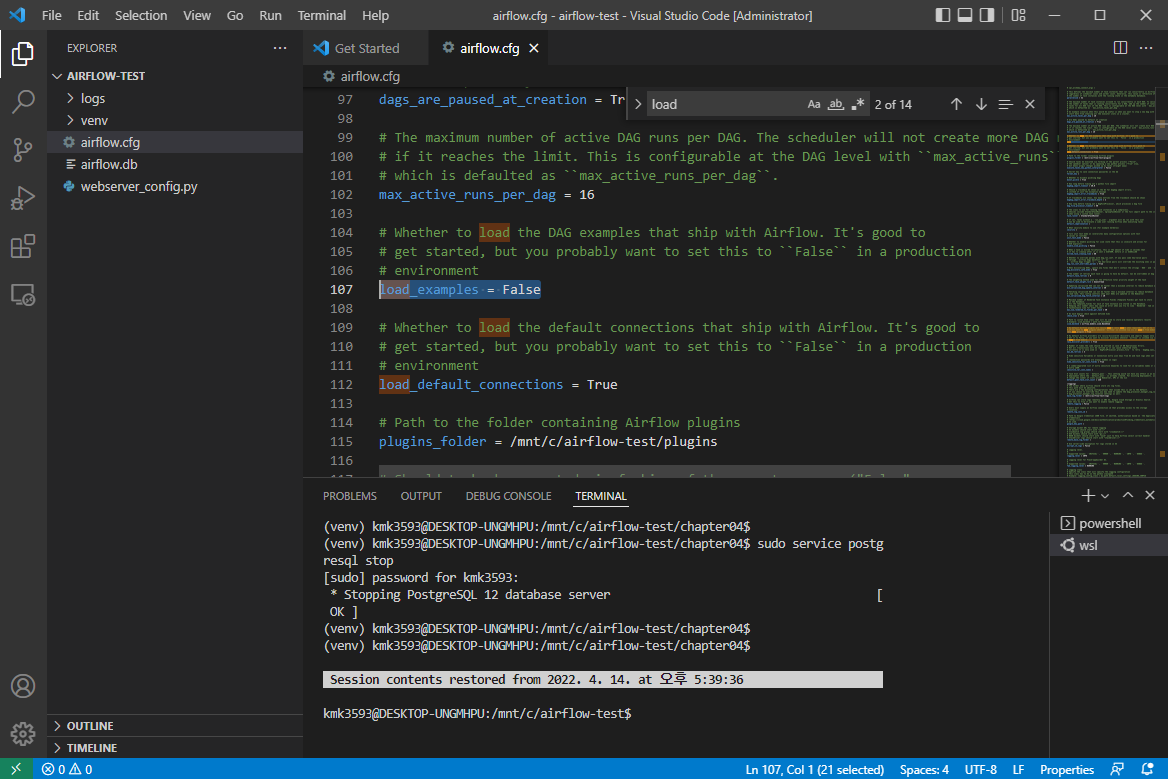
- VSCord 에서 작업
- 교재 88p
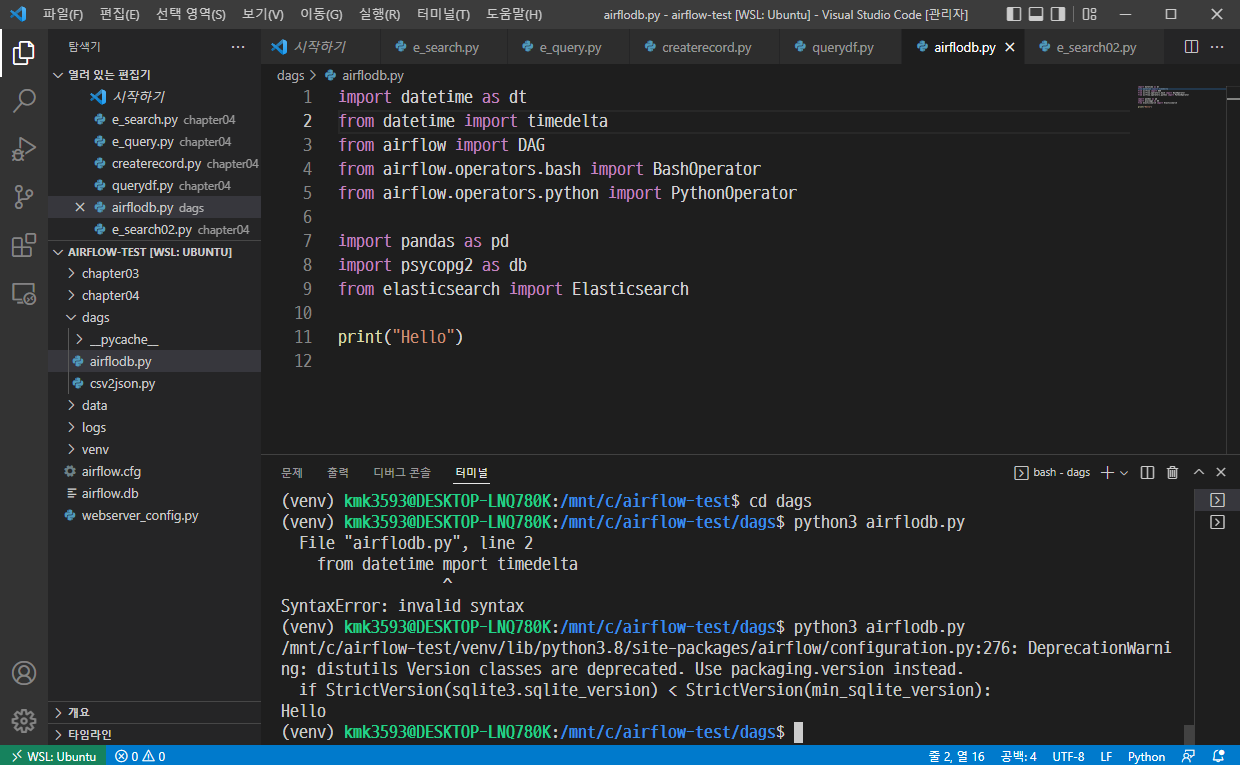
dags 폴더 아래에 파일 생성
→ 파일 생성 : airflodb.py
→ 코드 작성
import datetime as dt
from datetime import timedelta
from airflow import DAG
from airflow.operators.bash import BashOperator
from airflow.operators.python import PythonOperator
import pandas as pd
import psycopg2 as db
from elasticsearch import Elasticsearch
print("Hello")
→ 경로 이동 : (venv) kmk3593@DESKTOP-LNQ780K:/mnt/c/airflow-test/dags$
→ 실행
→ Hello 가 출력되었으므로 성공.
- 코드 추가 작성
- 다음 내용을 airflodb.py에 작성한다.
1 | import datetime as dt |
- Airflow 가동
→ 저장 후 실행
→ python3 airflodb.py
→ airflow 실행
→ airflow db init
→(재시도할 경우, 실행 : airflow db reset )
→ Terminal 2개 준비하고 다음 명령 실행
→airflow webserver -p 8080
→airflow scheduler
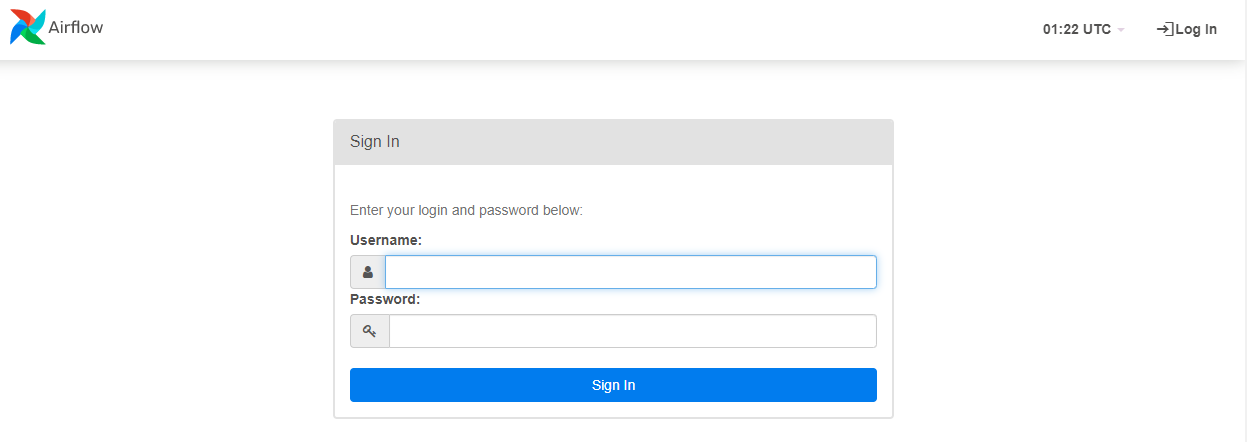
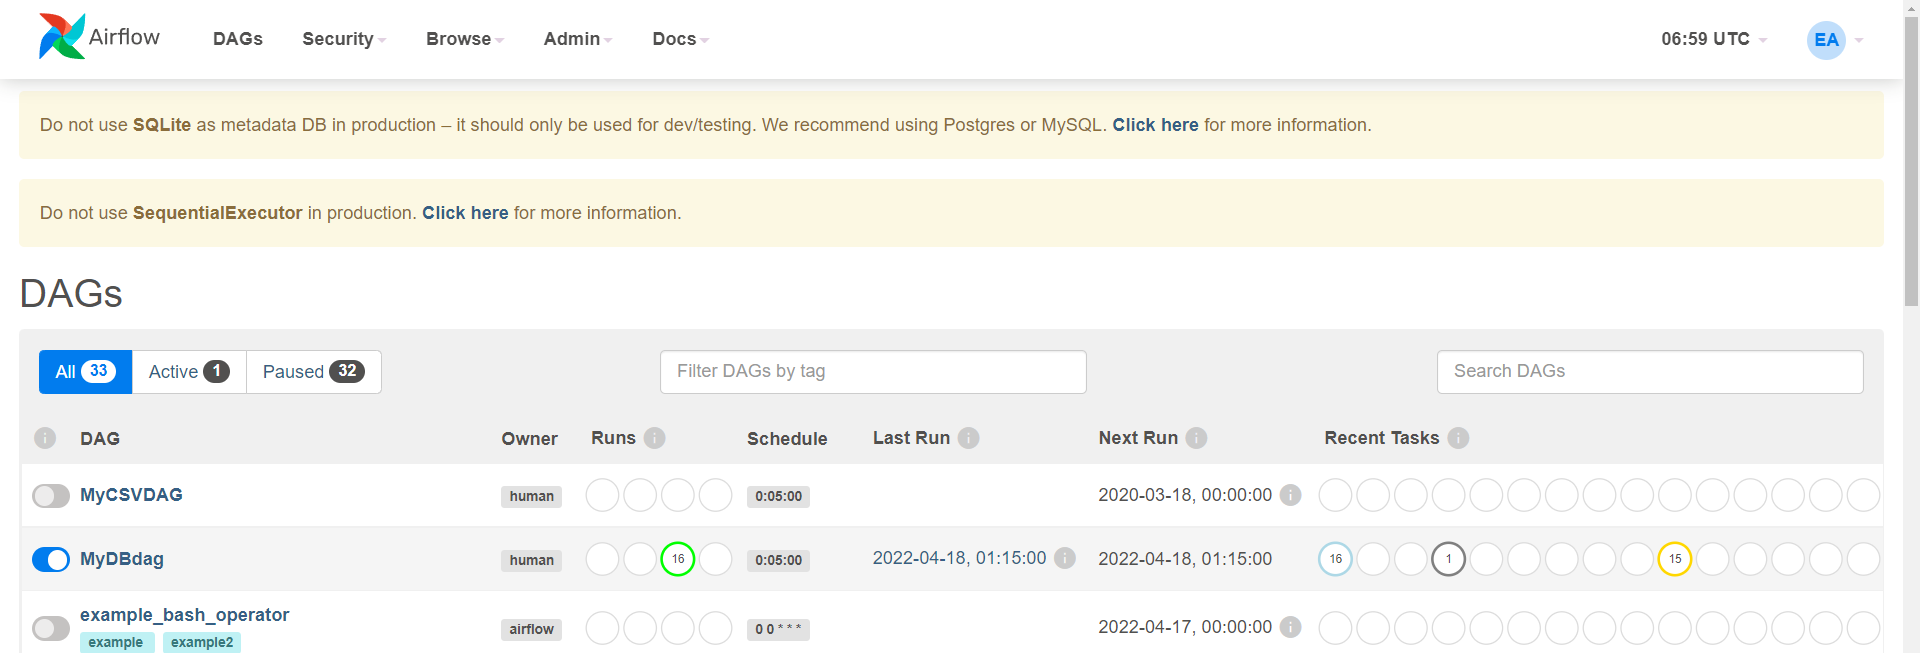
→ 다음 주소로 진입
→ Dags
→ 활성화 : MyDBdag
→ 더블 클릭 : MyDBdag
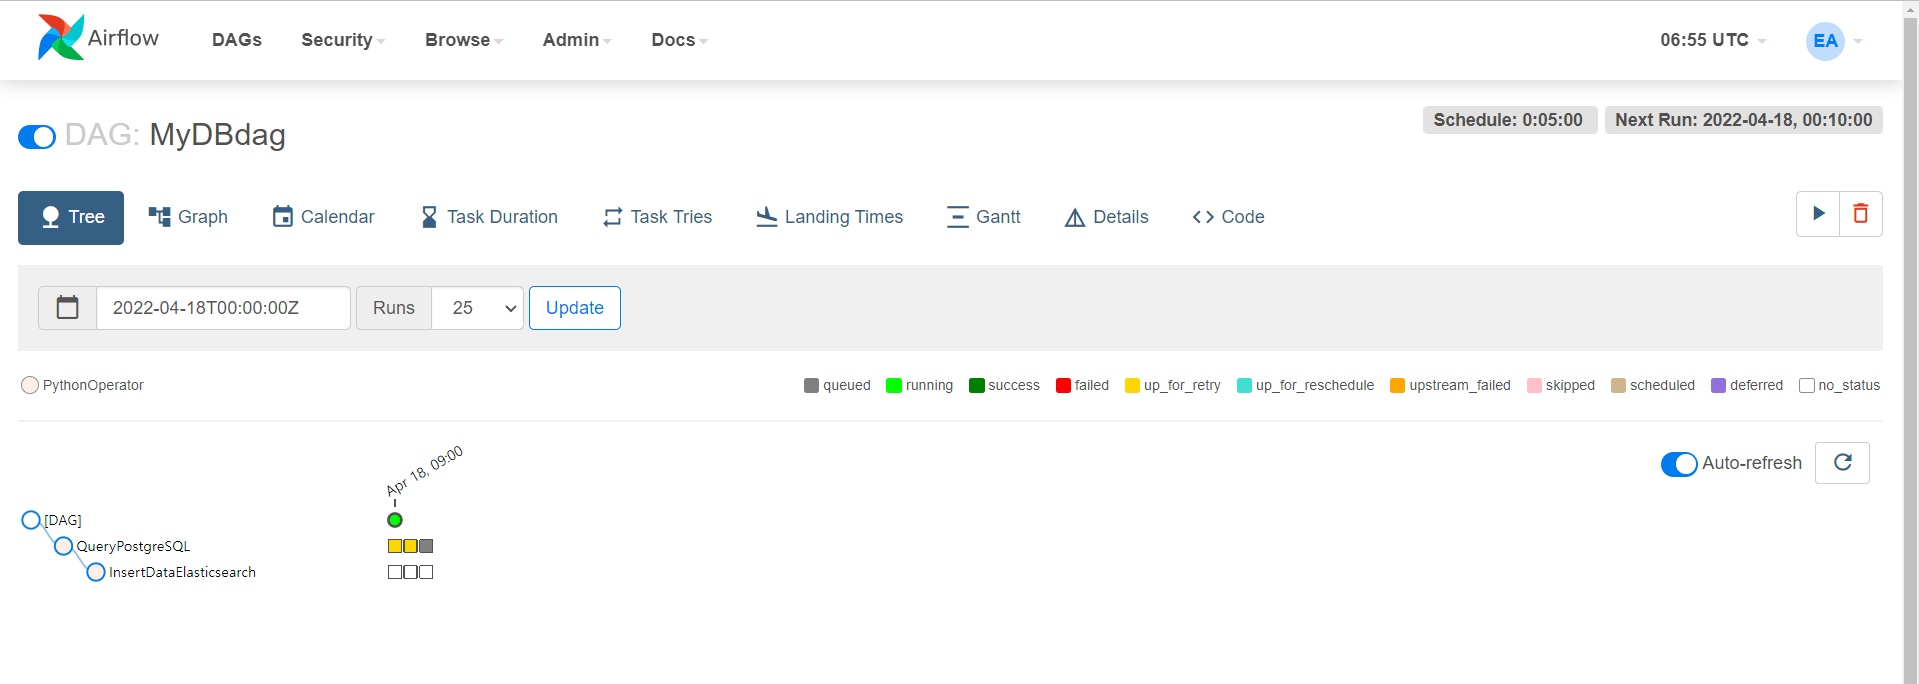
→ Tree
→ Update
→ 다음과 같이 출력되면 성공
- Reference : 실무 예제로 배우는 데이터 공학