VSCode Remote WSL
VSCode Remote WLS 연동 - Data Science | DSChloe
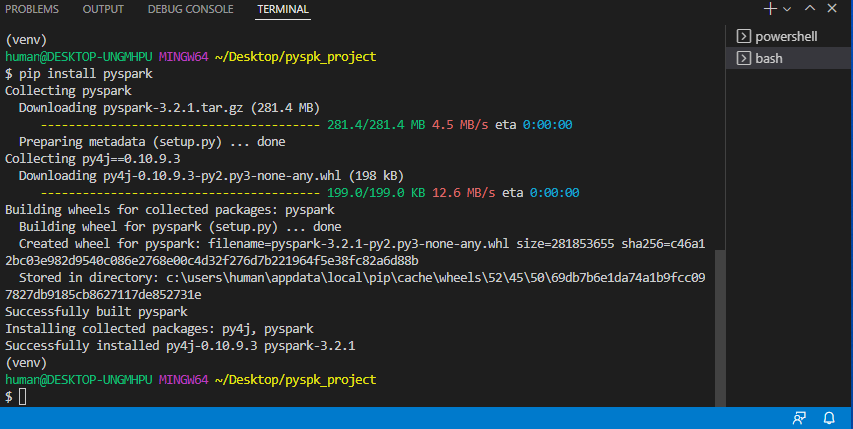
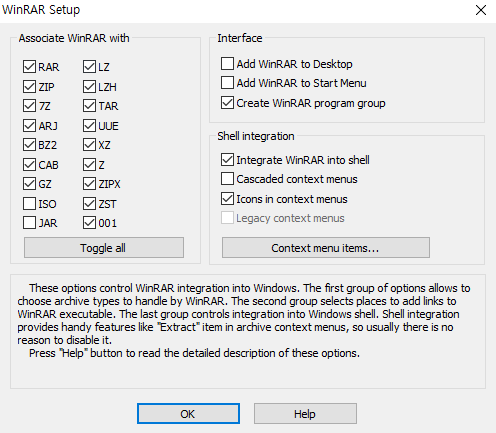
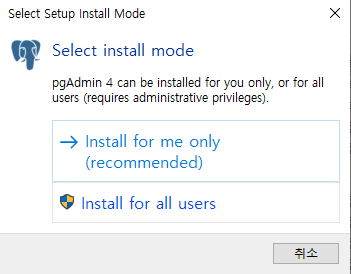
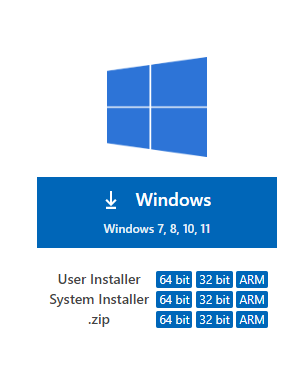
VSCode 설치
- 우선 VSCode를 설치한다.
- 이 때, 관리자로 실행할 것이기 때문에 System Installer를 다운로드 받는다.
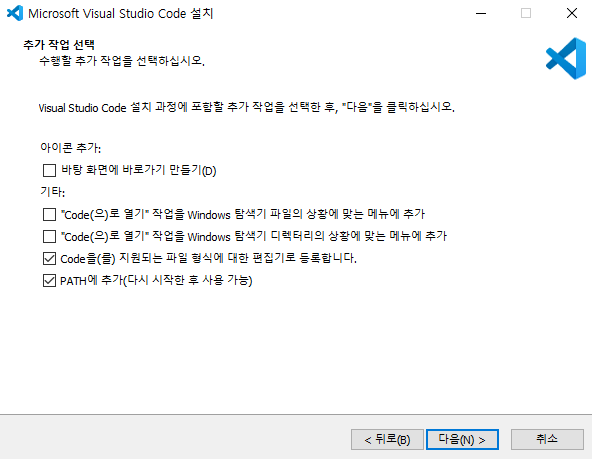
- 설치가 다 끝난 후에는 재부팅을 실시한다.
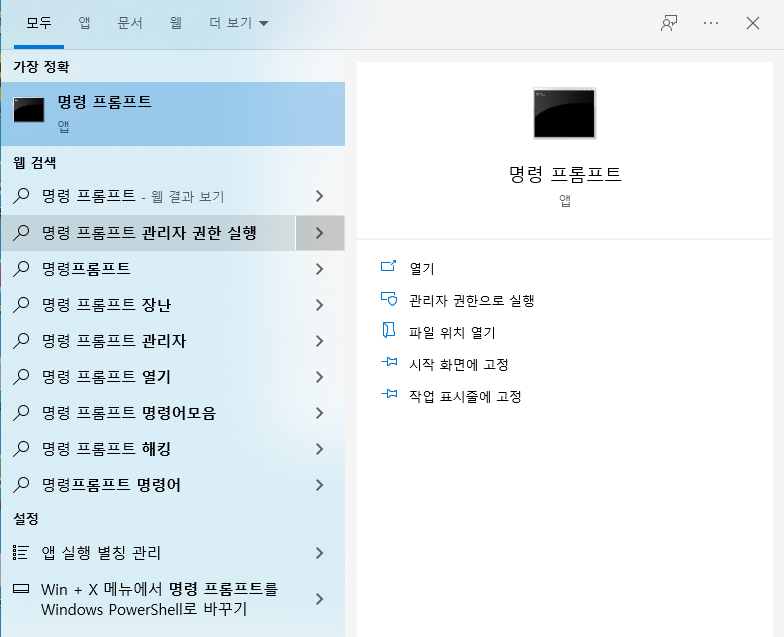
- 관리자 권한으로 실행 : visual studio
Remote WSL 연동
- 좌측 탭에서 Extension 버튼을 클릭한다.
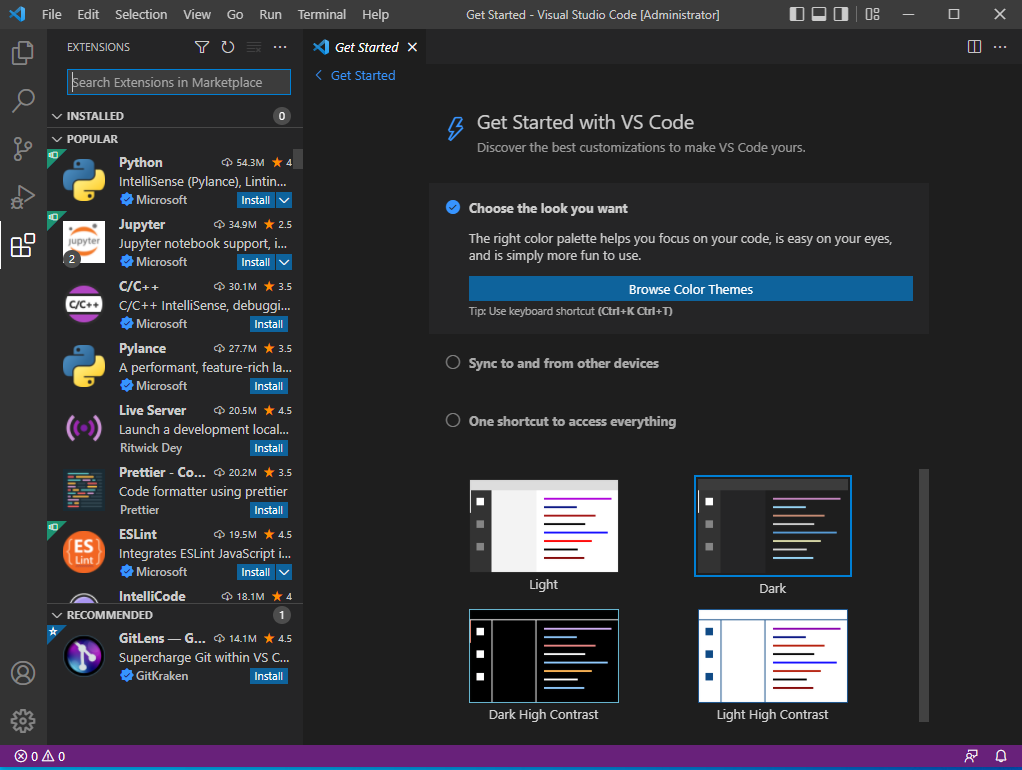
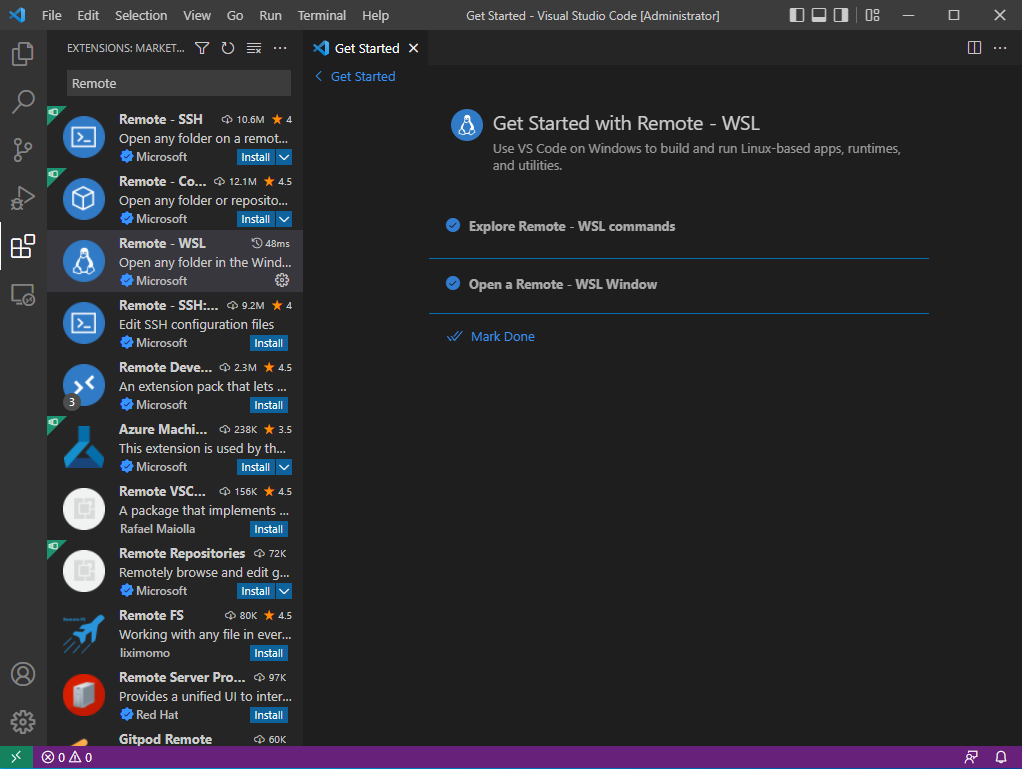
- 검색 창에서 Remote WSL을 검색 후, 설치를 진행한다.

- 모두 클릭 후, Mark Done을 선택한다.
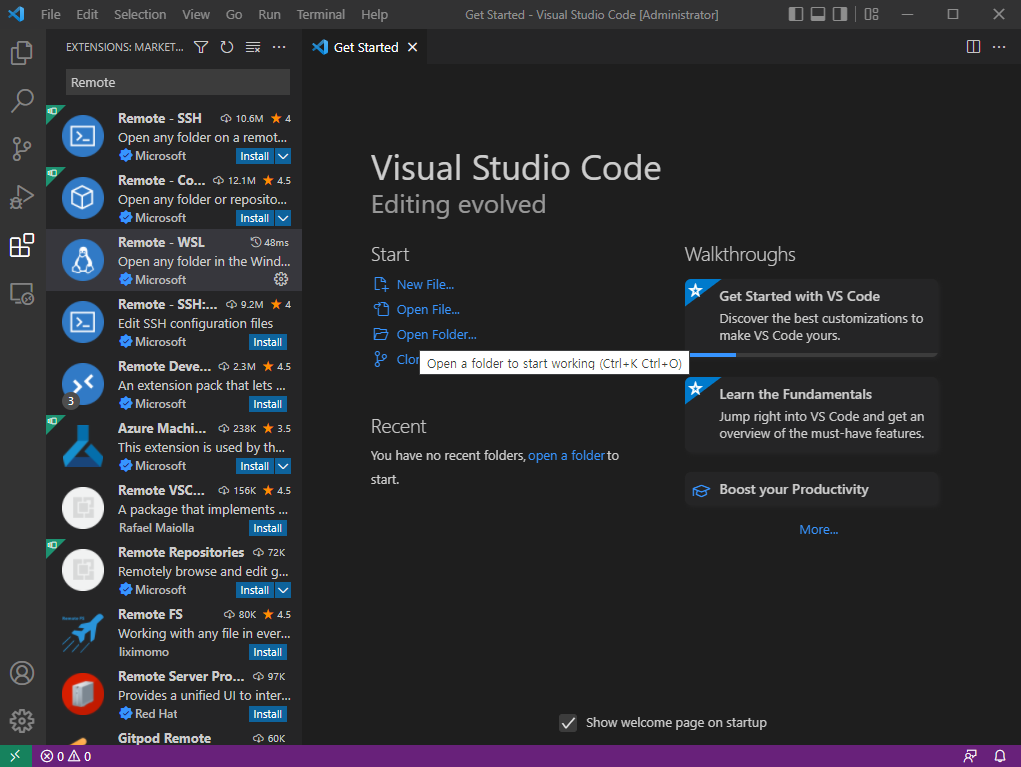
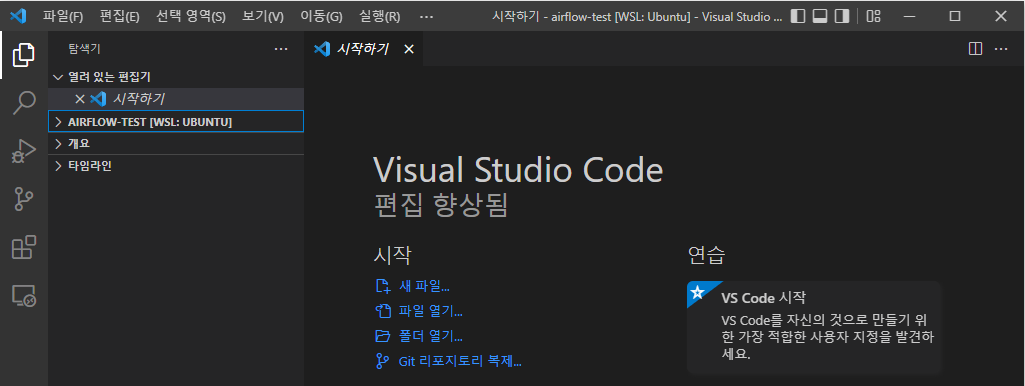
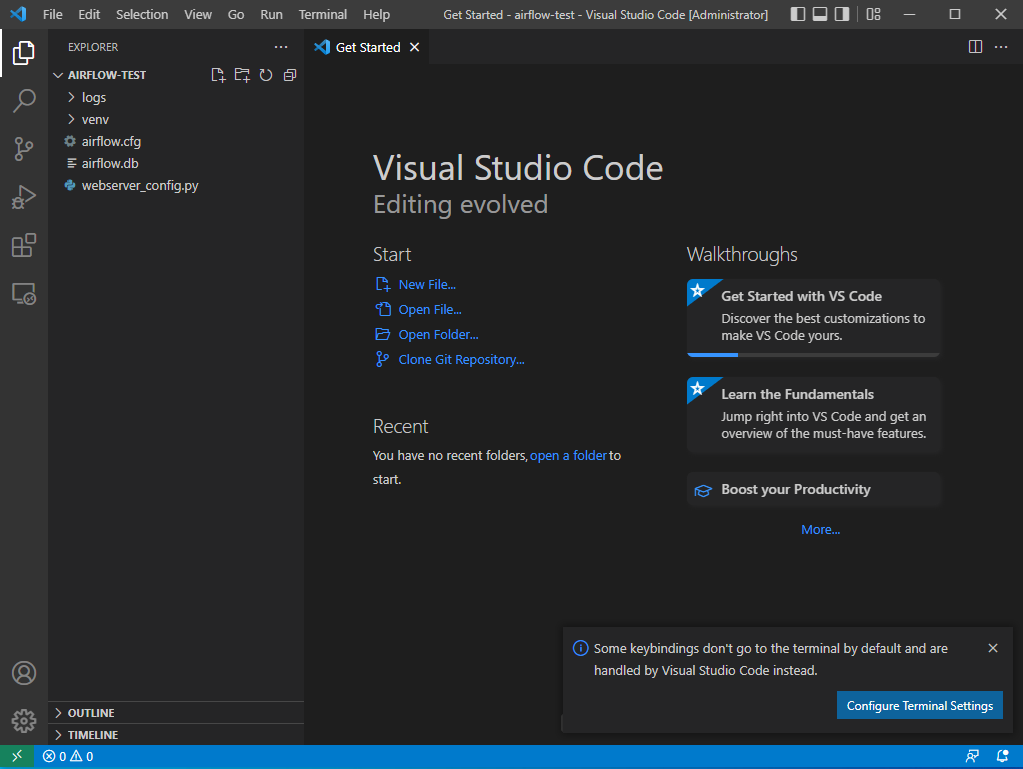
- WSL에서 설치했던 airflow-test 폴더를 선택한다.
file → Open Folder → c 드라이브 → airflow_test 열기
- 메뉴 바에 Terminal 선택 후, 화면 하단에서 WSL이 있는지 확인한다.
- Terminal 열어서 Ubuntu 실행한다.
Terminal
→ new terminal
→ 우측의 + 버튼으로 Ubuntu(WSL) 열기
사용법
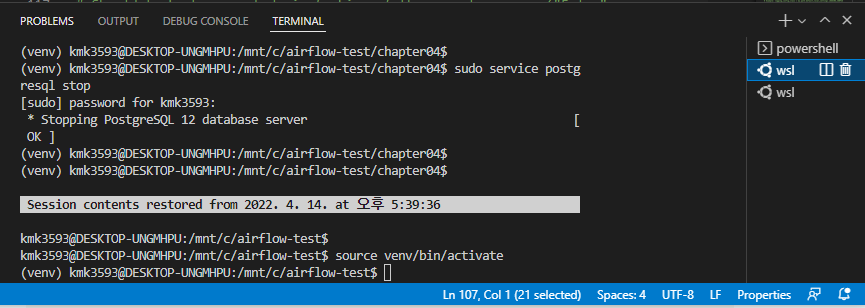
- 해당 메뉴를 클릭하면 아래와 같이 터미널이 변경된 것을 확인할 수 있다.
- 이번엔 서버를 가동해본다.
→ source venv/bin/activate
→ airflow webserver -p 8081
→ which python3
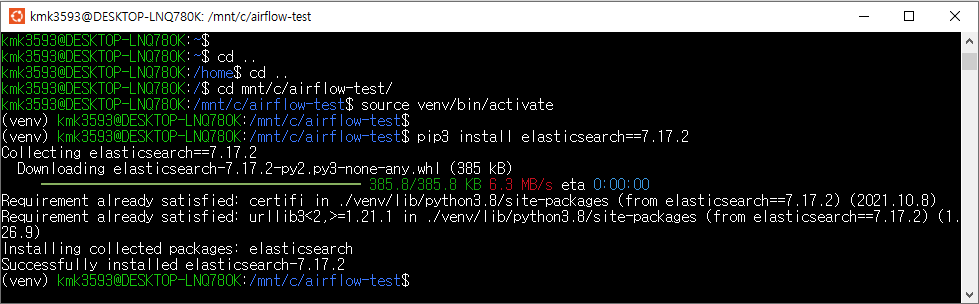
라이브러리 설치
- 앞으로 ubuntu를 키지 않고 VScode에서 사용한다.
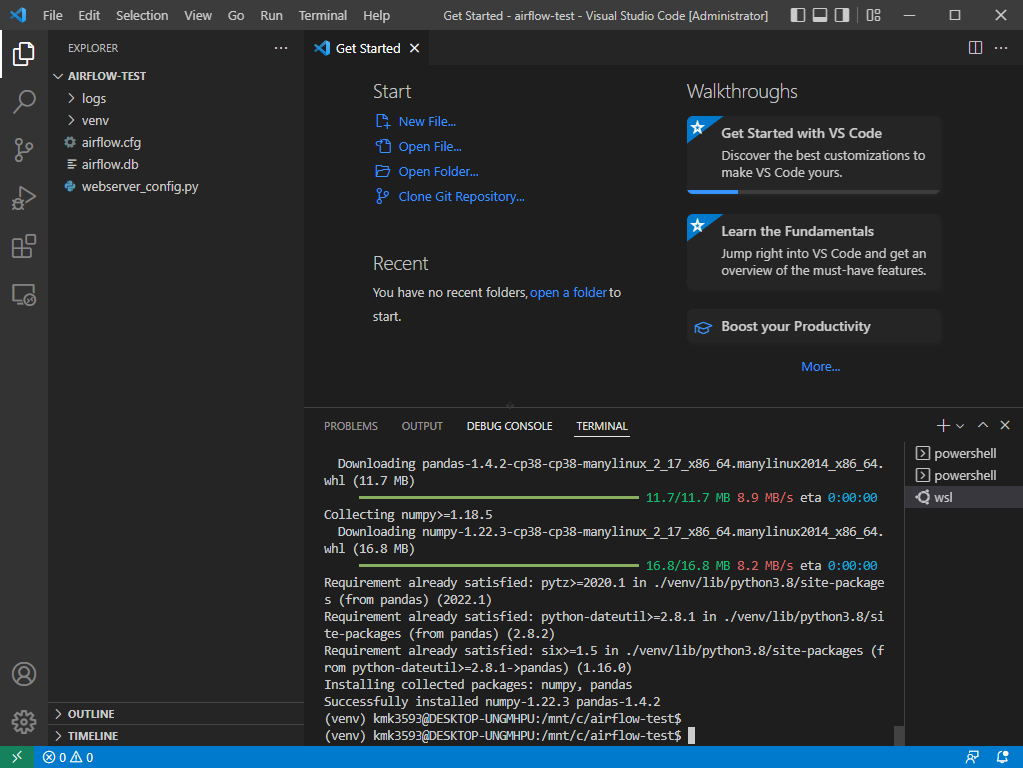
- 라이브러리를 설치한다.
→pip3 install faker
→pip3 install pandas
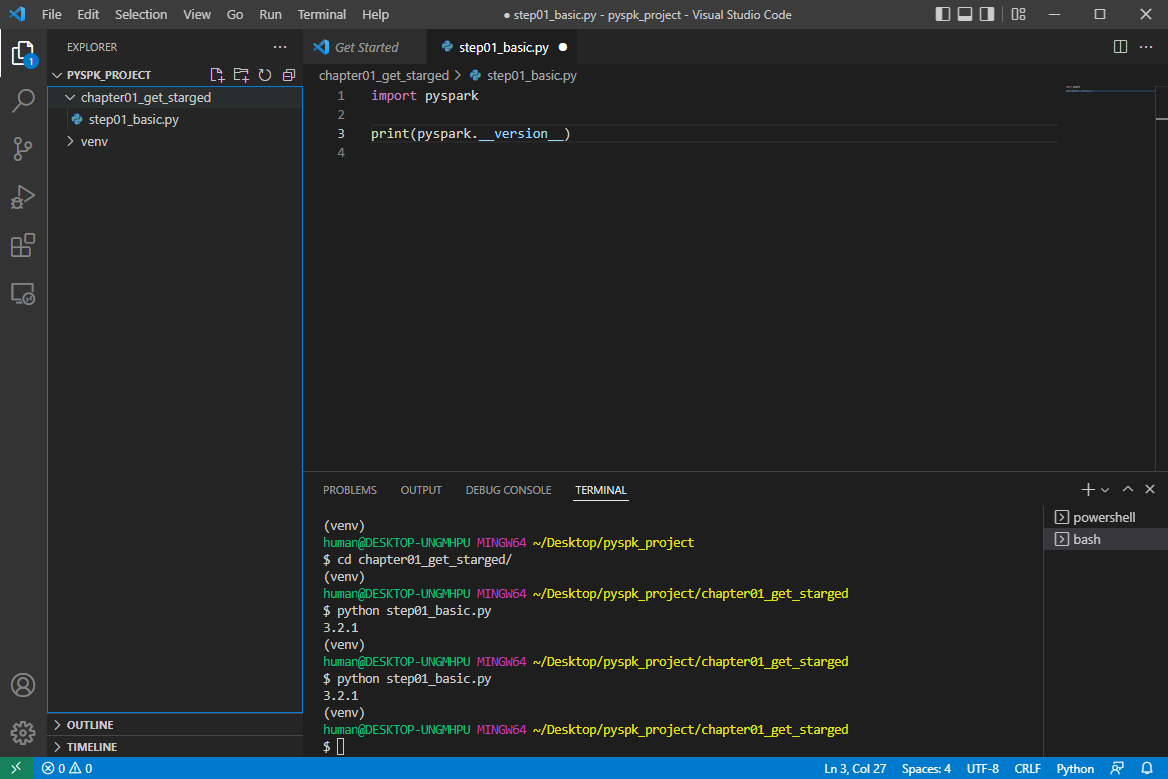
실습
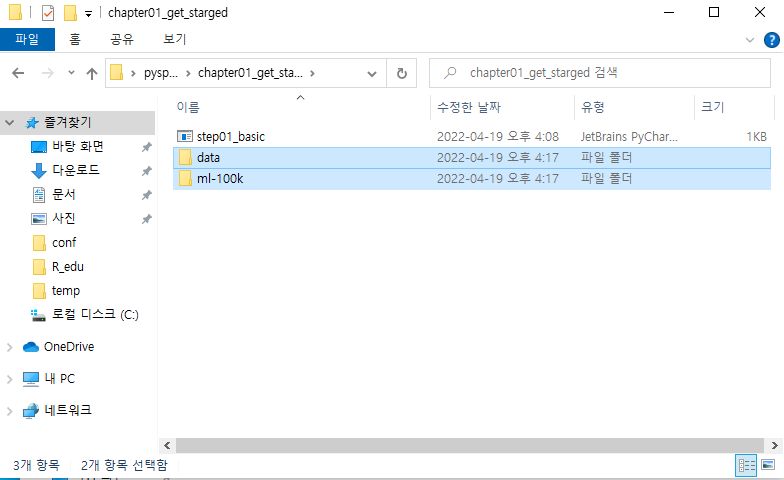
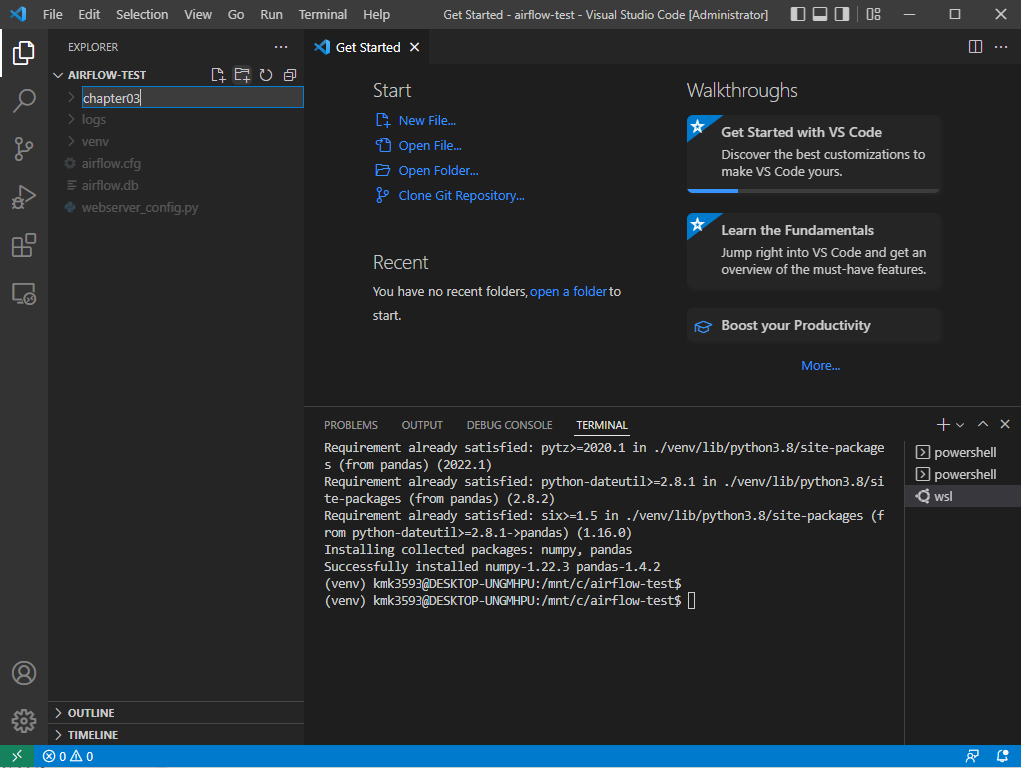
폴더 생성 : 폴더 그림+ 버튼
→ chapter03 폴더 생성
→ 파일 생성 : 파일 그림+ 버튼
→ hello.py 파일 생성
→ 내용 작성 : print(”Hello World!”)
→ save ( ctrl + s)
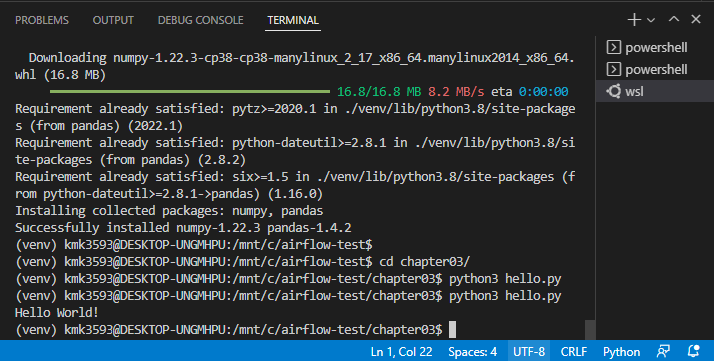
wsl Terminal 에서 다음 내용 작성
→ cd chapter 03/
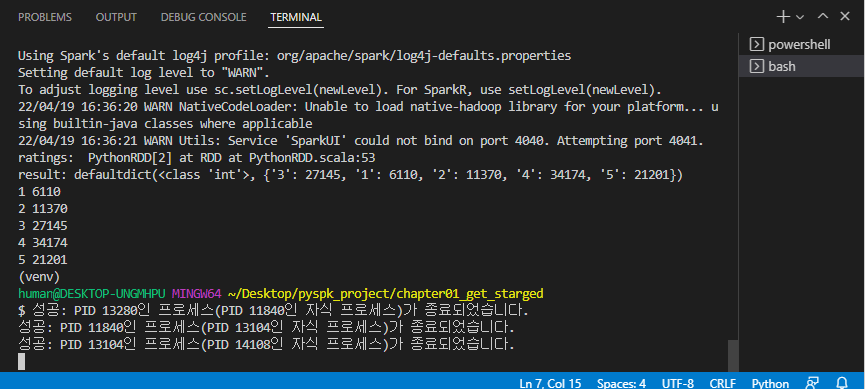
→ python3 hello.py
→ hello.py 실행되면 성공
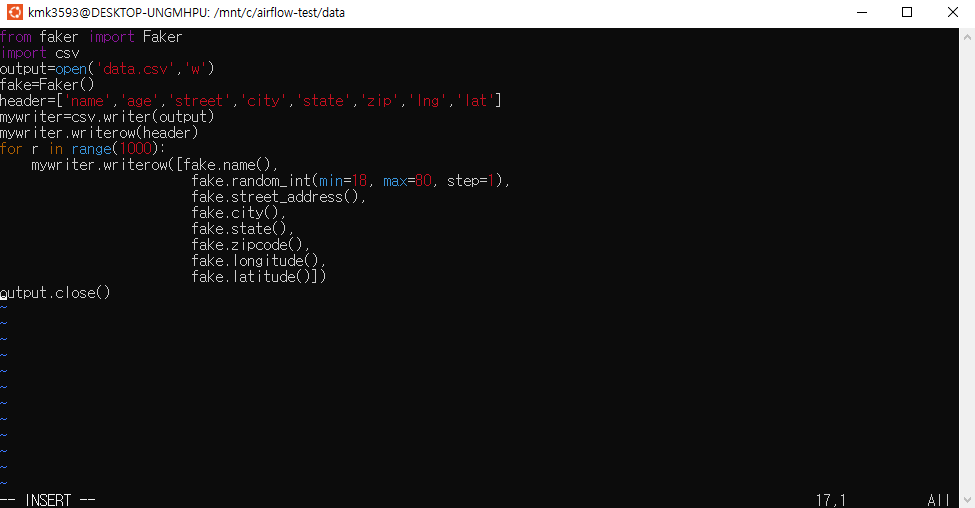
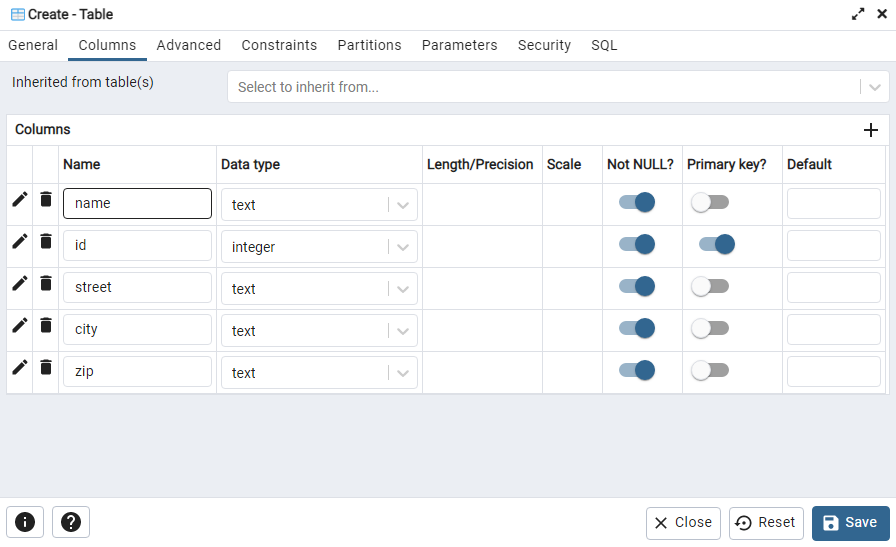
파일 생성 : step01_writecsv.py
→ 코드 작성 : 실무 예제로 배우는 데이터 공학 44p
from faker import Faker import csv output=open('data.csv','w') fake=Faker() header=['name','age','street','city','state','zip','lng','lat'] mywriter=csv.writer(output) mywriter.writerow(header) for r in range(1000): mywriter.writerow([[fake.name](http://fake.name/)(),fake.random_int(min=18, max=80, step=1), fake.street_address(), fake.city(),fake.state(),fake.zipcode(),fake.longitude(),fake.latitude()]) output.close()
→ 저장 후 실행 : python3 step1_writecsv.py
→ data.csv 파일이 생성된다.
파일 생성 : step02_readcsv.py
→ 코드 작성 : 실무 예제로 배우는 데이터 공학 44 ~ 45p
import csv
with open('data.csv') as f:
myreader = csv.DictReader(f)
headers = next(myreader)
for row in myreader:
print(row['name'])
→ 저장 후 실행 : python3 step2_readcsv.py
→ 여러 사람의 이름이 출력되면 성공
파일 생성 : step03_pandas.py
→ 코드 작성 : 실무 예제로 배우는 데이터 공학 p
import pandas as pd
df = pd.read_csv('data.csv')
df.head(10)
df.to_csv('fromdf.csv', index=False)
→ 저장 후 실행
→ data.csv 파일 내용과 동일한 fromdf.csv 파일이 생성된다.
파일 생성 : step04_writejson.py
→ 코드 작성 : 실무 예제로 배우는 데이터 공학 48p
from faker import Faker
import json
output = open('data.json', 'w')
fake = Faker()
alldata = {}
alldata['records'] = []
for x in range(1000):
data = {
"name" : fake.name(),
"age" : fake.random_int(min=18, max=80, step=1),
"street" : fake.street_address(),
"city" : fake.city(),
"state" : fake.state(),
"zip" : fake.zipcode(),
"lng" : float(fake.longitude()),
"lat" : float(fake.latitude())}
alldata['records'].append(data)
json.dump(alldata, output)
→ 저장 후 실행
→ data.json 이 생성된다.
데이터 불러오기
파일 생성 : step05_readjson.py
→ 코드 작성 : 실무 예제로 배우는 데이터 공학 49p
import json
with open('data.json', 'r') as f:
data = json.load(f)
print("Data Type is ", type(data))
print(data['records'][0]['name'])
→ 저장 후 실행
→ 사람 이름이 출력된다.
파일 생성 : step06_pandas.py
→ 코드 작성 : 실무 예제로 배우는 데이터 공학 49p
import pandas.io.json as pd_JSON
import pandas as pd
f = open('data.json', 'r')
data = pd_JSON.loads(f.read())
df = pd.json_normalize(data, record_path='records')
print(df.head(2))
print(df.head(2).to_json())
print(df.head(2).to_json(orient='records'))
→ 저장 후 실행
→이름, 거리, 도시 등이 출력된다.
전처리 순서
CSV —> 데이터 프레임 변환 —> 오라클 or PostgreSQL
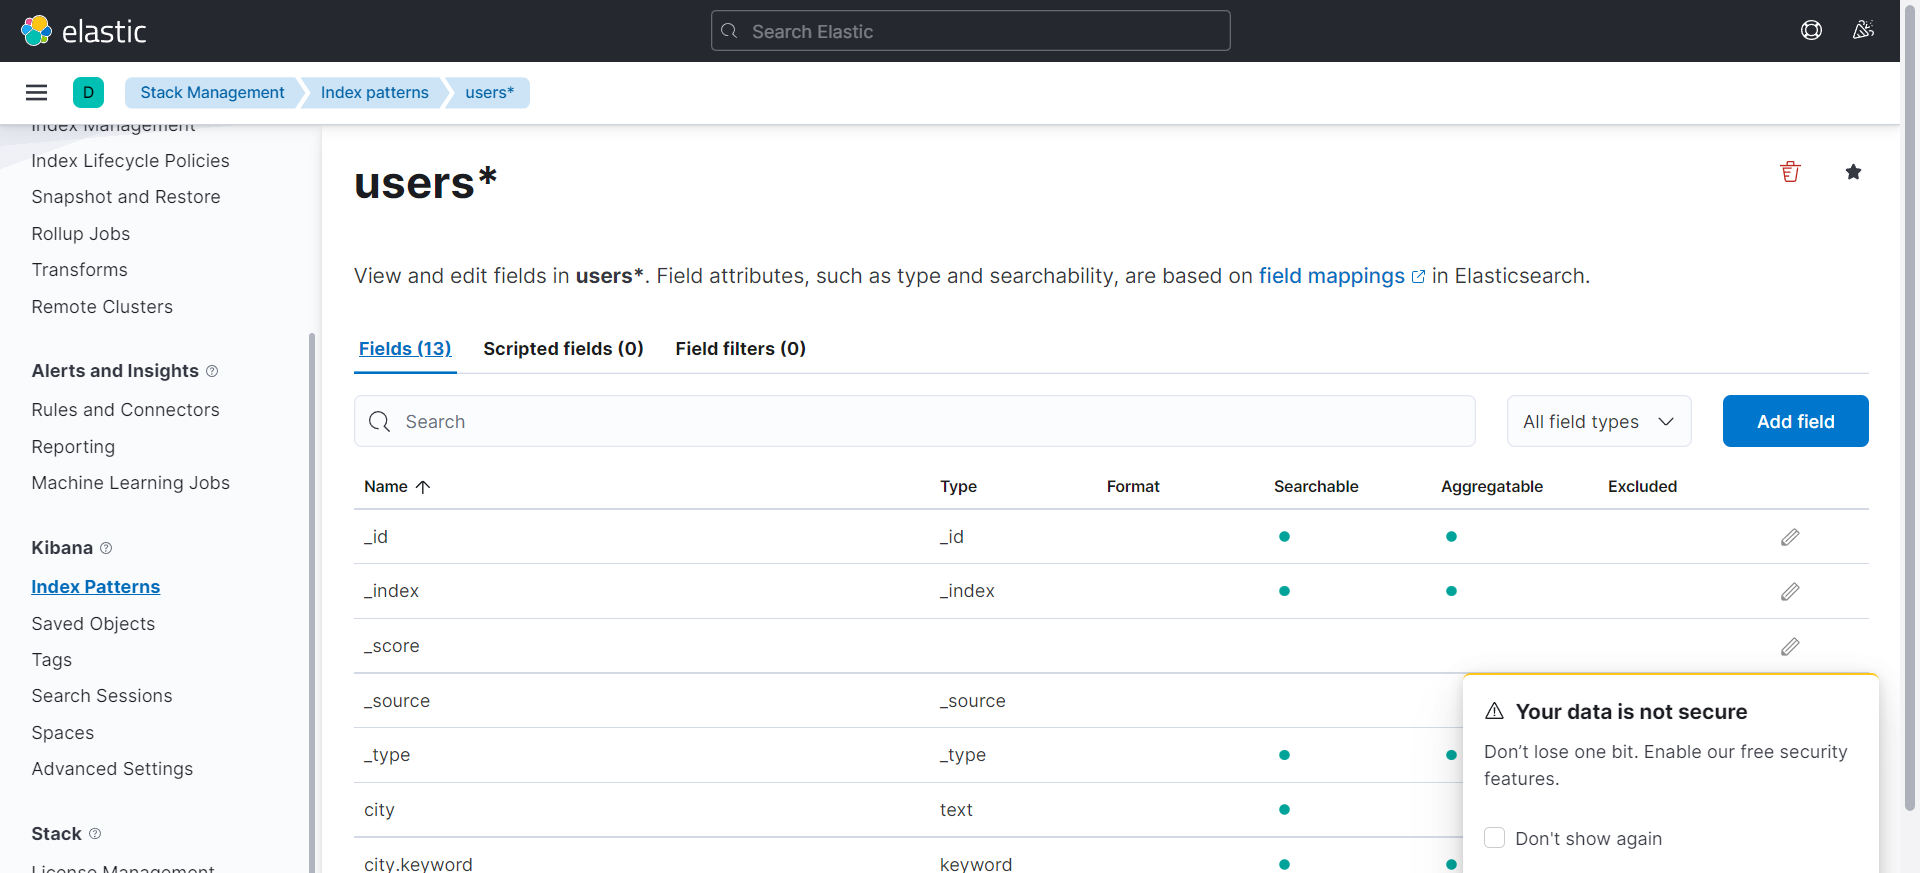
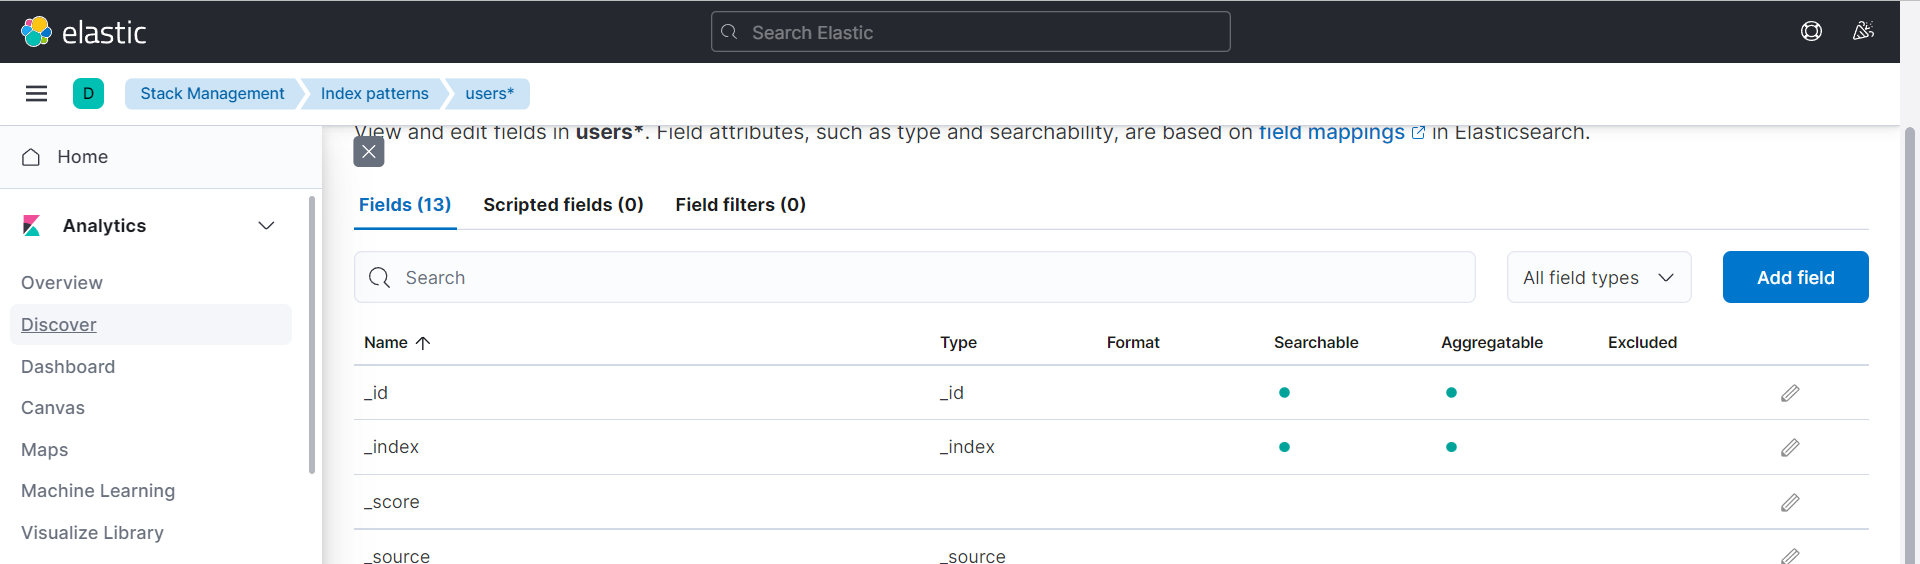
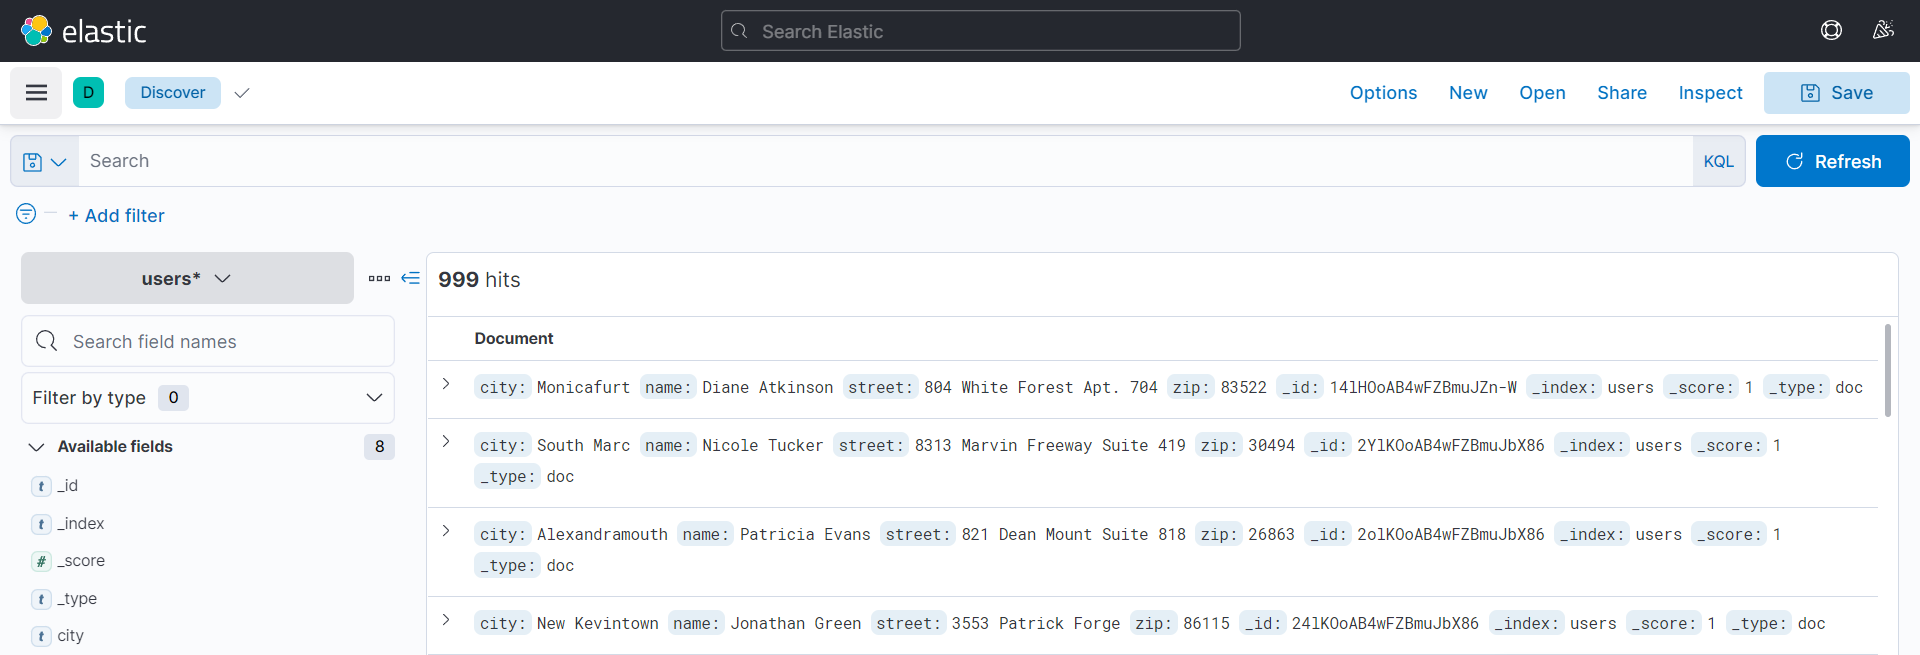
비정형 데이터
-이미지 / 텍스트
JSON —> Pandas 데이터 프레임 변환 —> 전처리
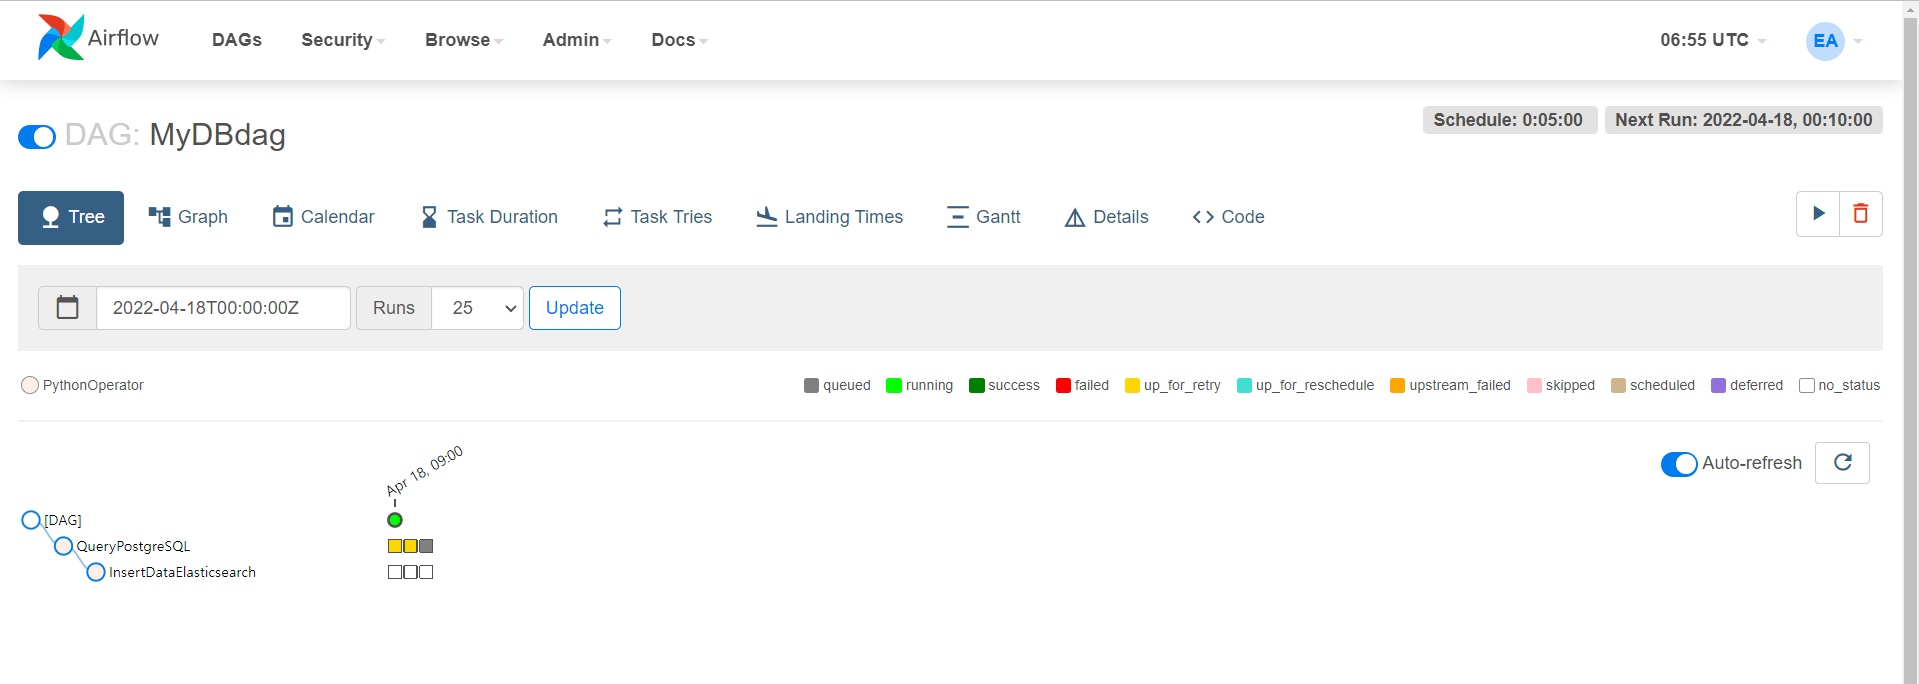
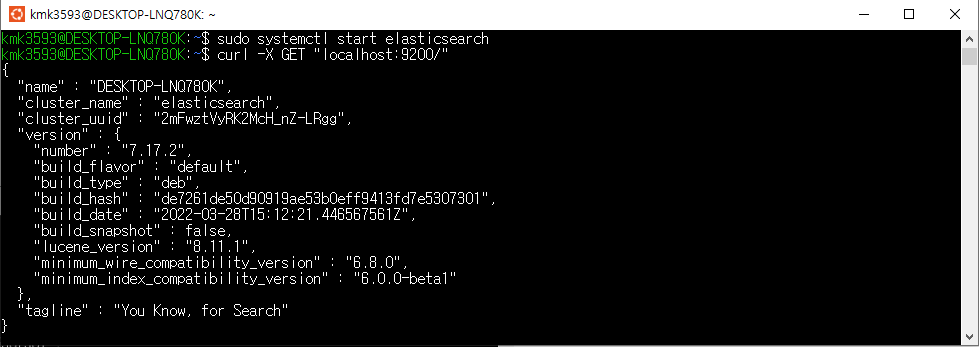
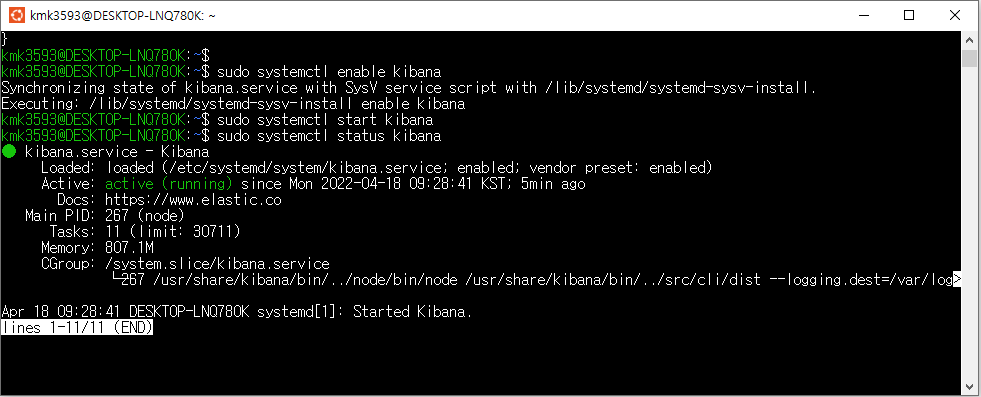
—> JSON(NoSQL) —> ElasticSearch —> 시각화(Kibana)
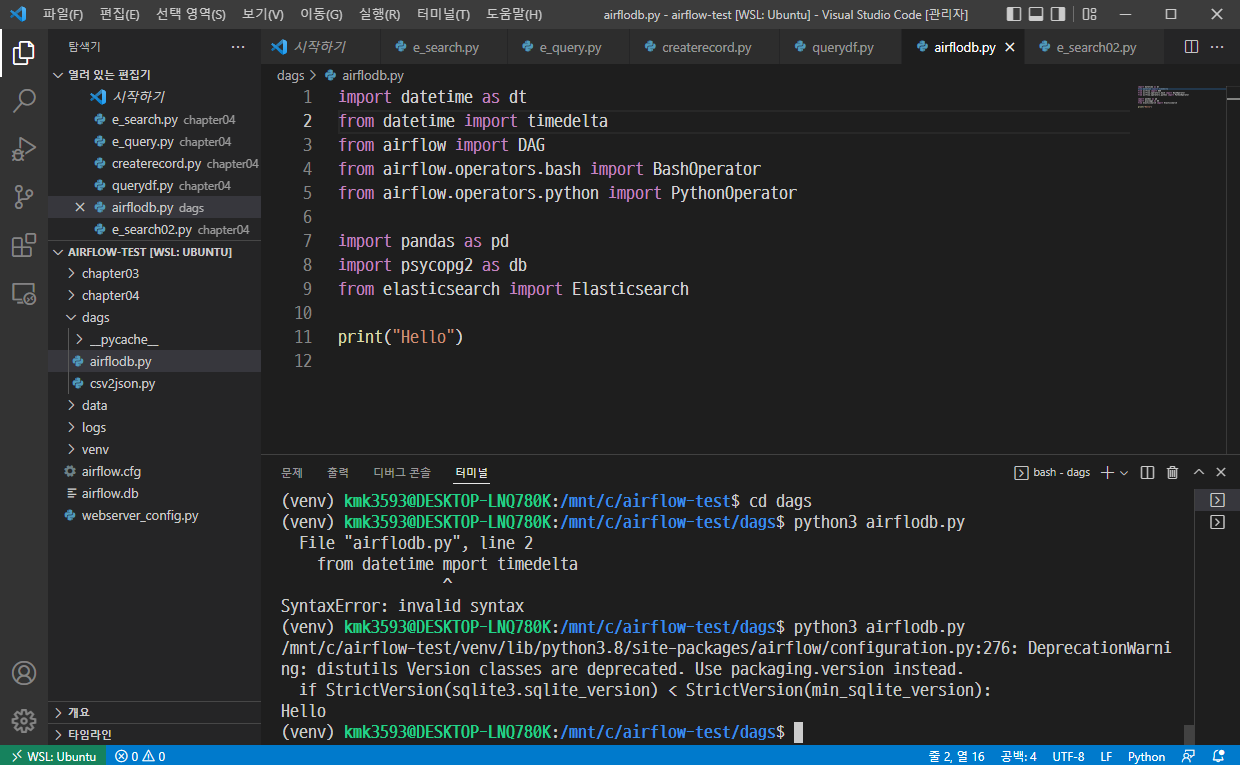
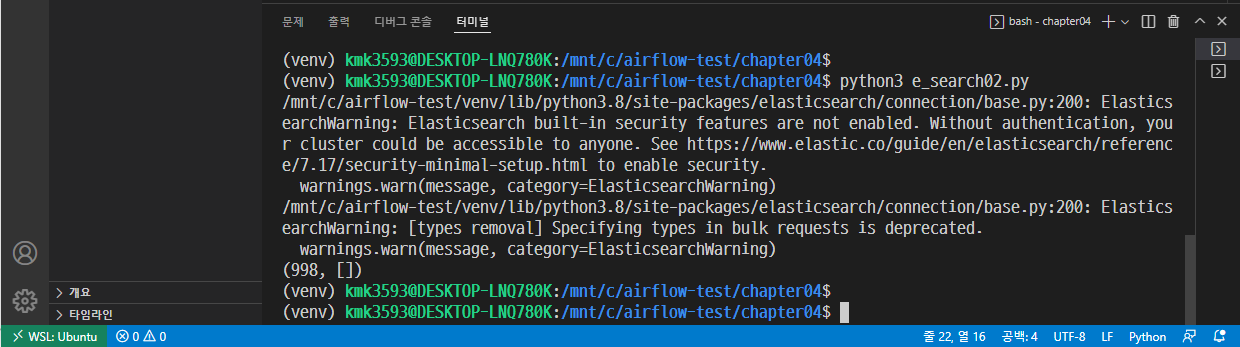
파일 생성 : step07_airflowcsv.py
→ 코드 작성 : 실무 예제로 배우는 데이터 공학 51 ~ 54 p
→ 저장 후 실행
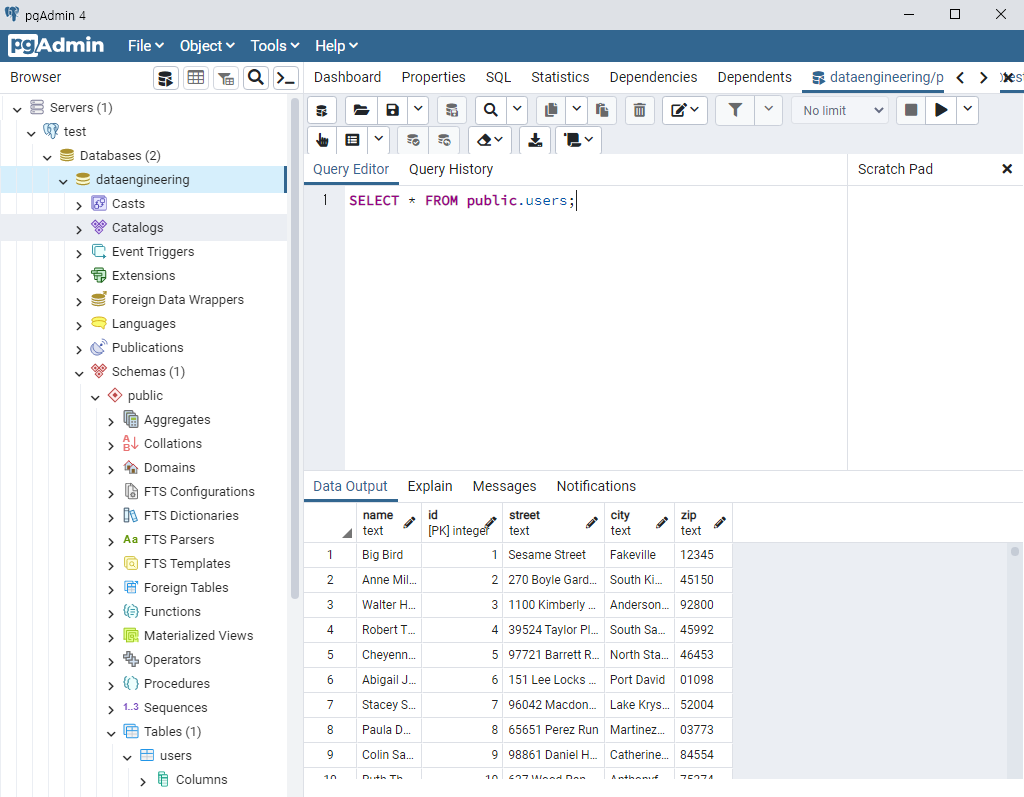
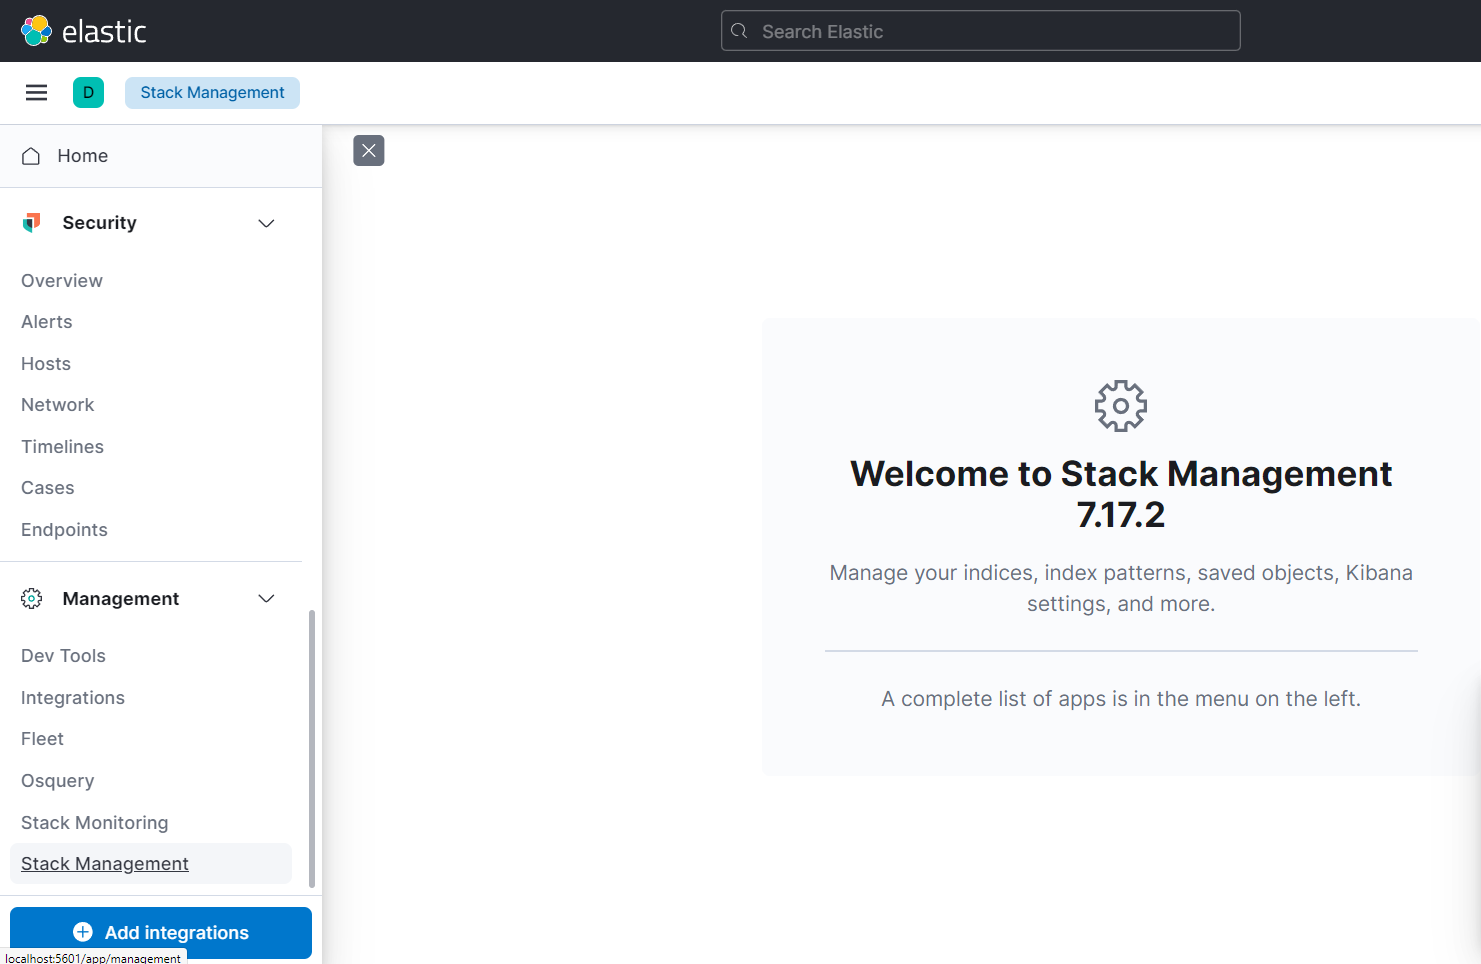
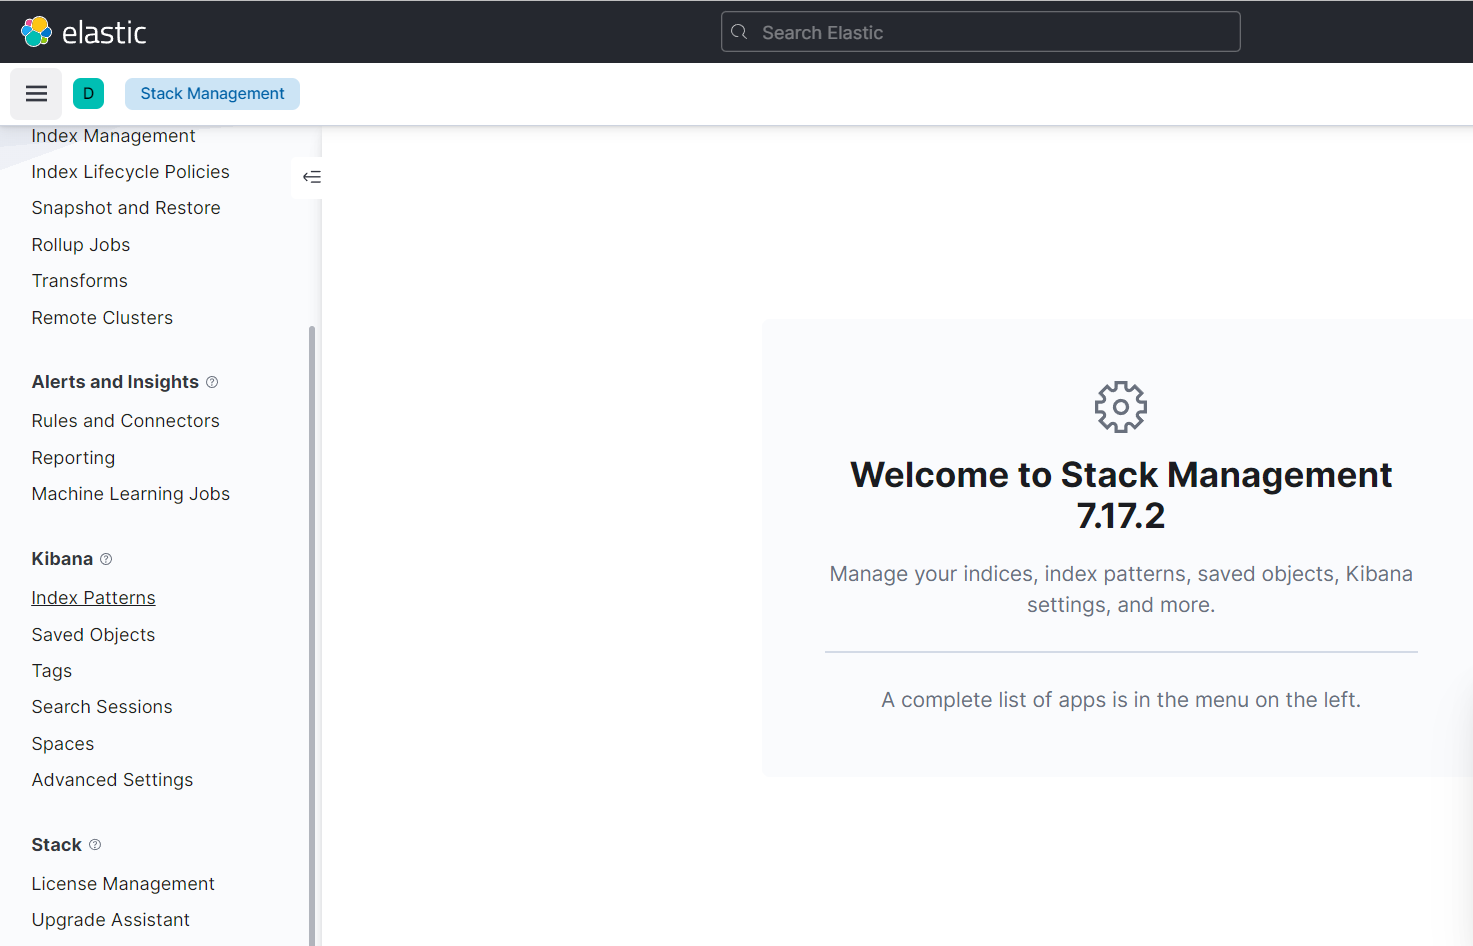
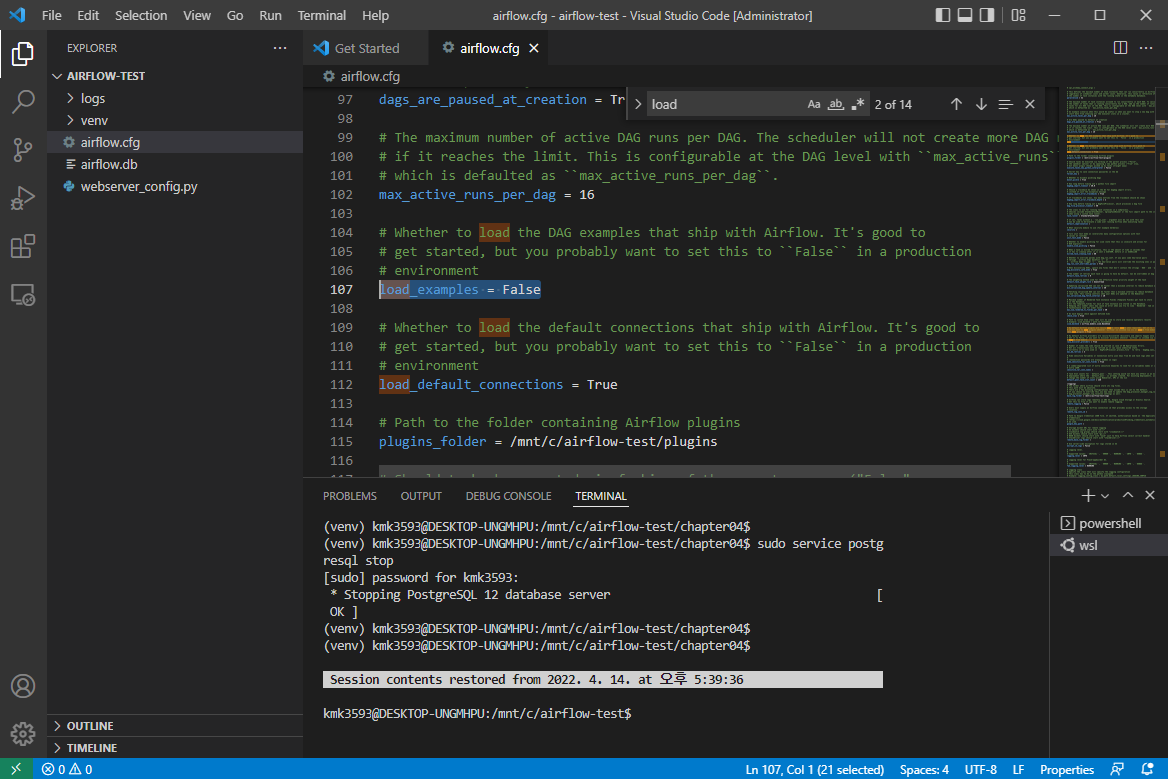
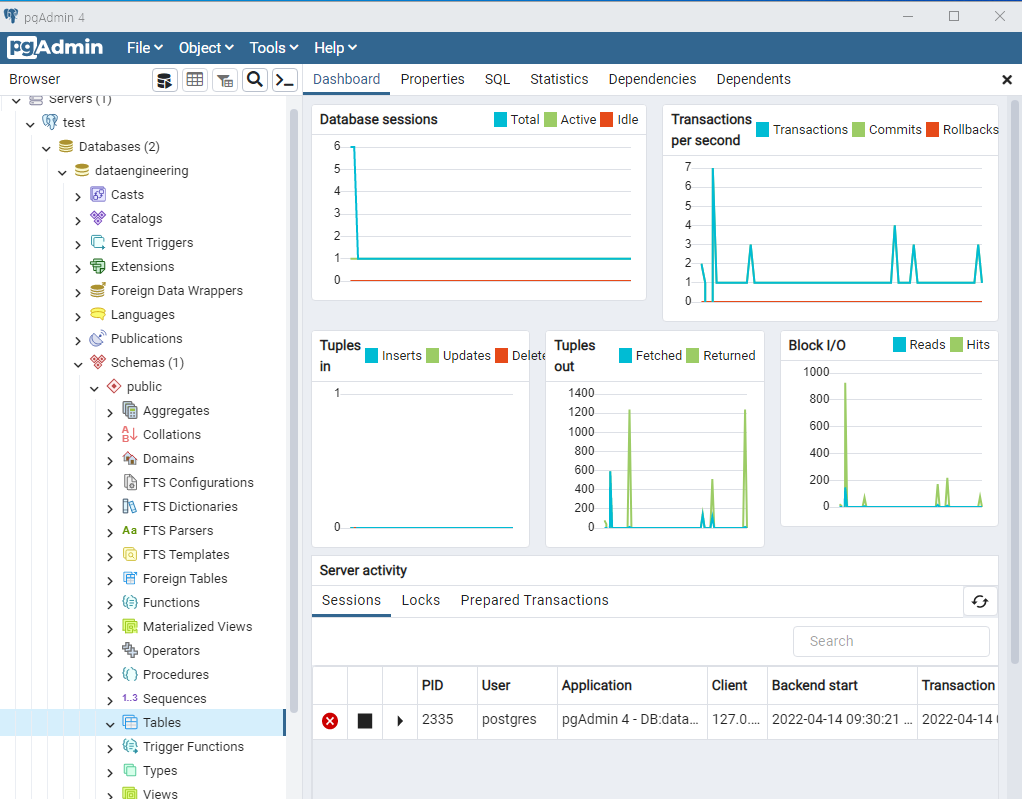
톱니바퀴 모양의 ‘airflow’를 연다
→ 다음 그림과 같이 경로가 잡혀있다.
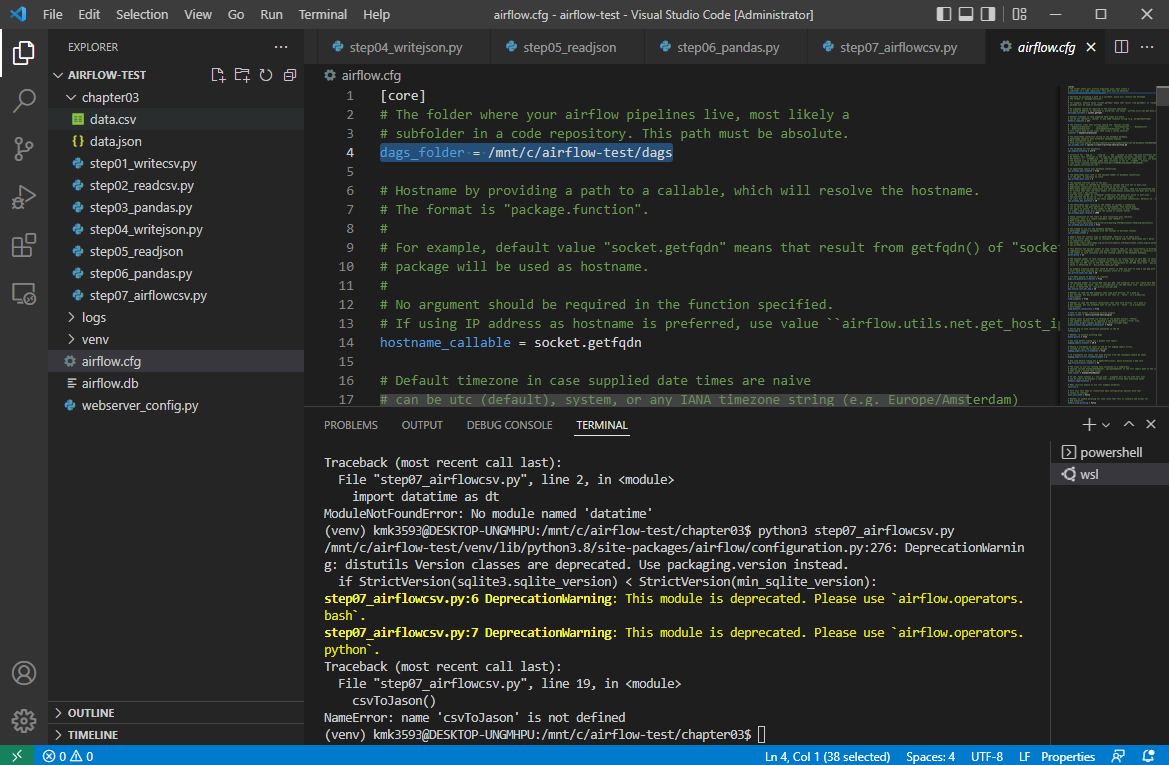
이 부분은 일단 넘어간다.
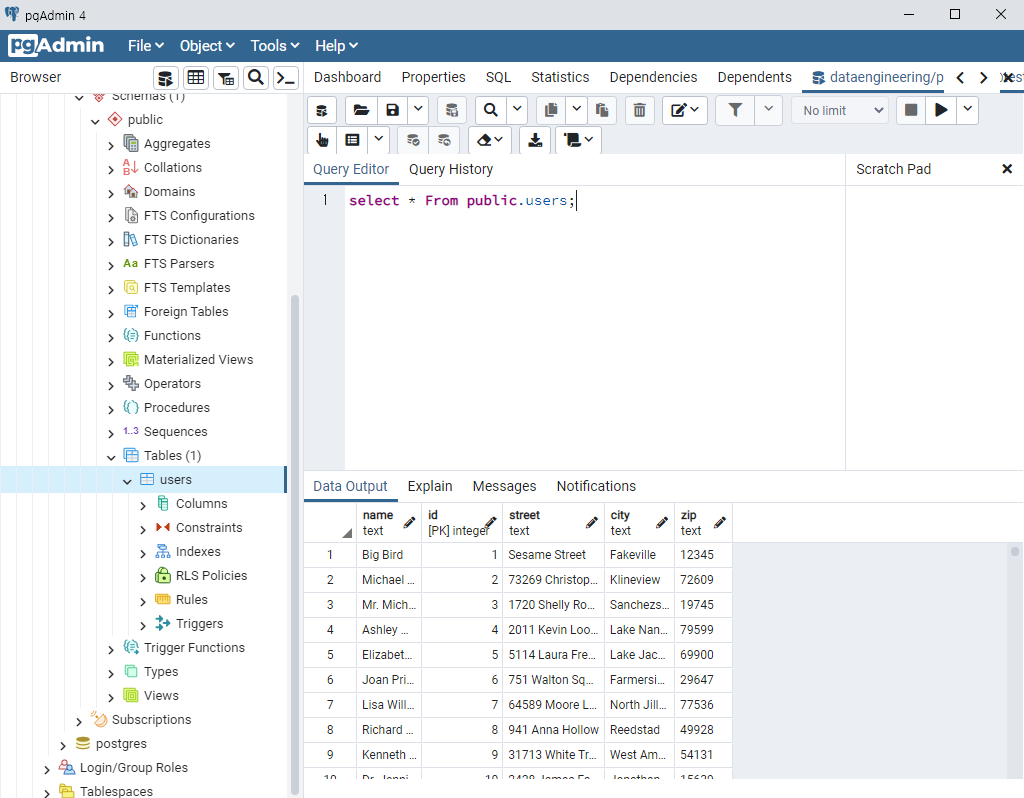
폴더 생성 : airflowcsv.py
→ 파일 복사 붙여넣기 : data.csv
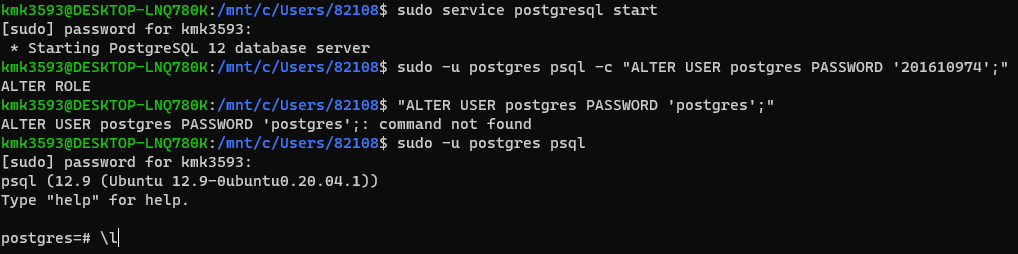
- Apache-Airflow 세팅 참고하여 진행
-Setting up Apache-Airflow in Windows using WSL2 - Data Science | DSChloe
→airflow dbinit
→airflow users create --username airflow --password airflow --firstname evan --lastname airflow --role Admin --email your_email@some.com
→airflow webserver -p 8081
→source venv/bin/acivate
→airflow scheduler
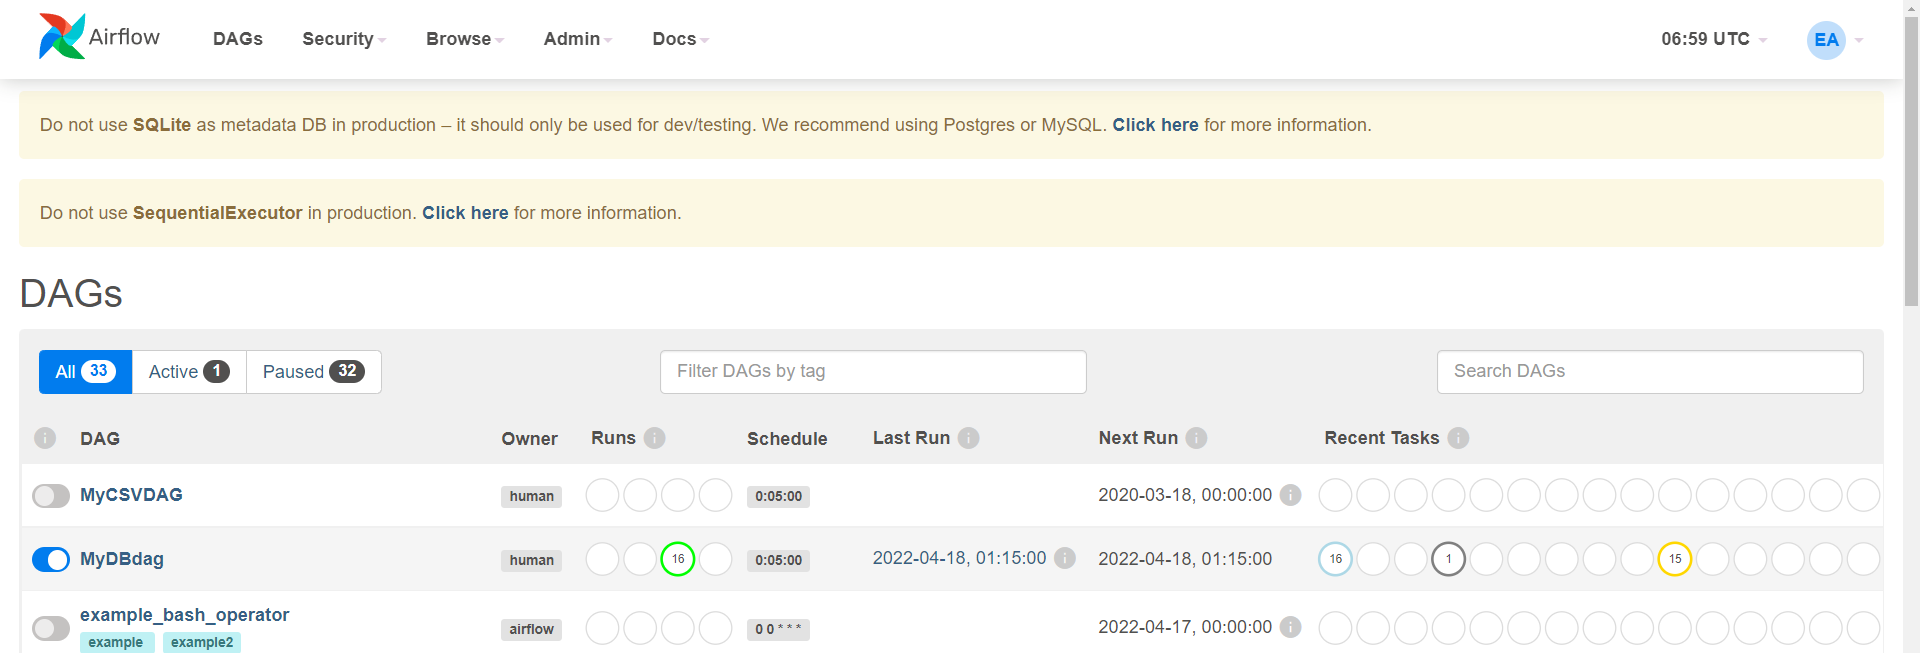
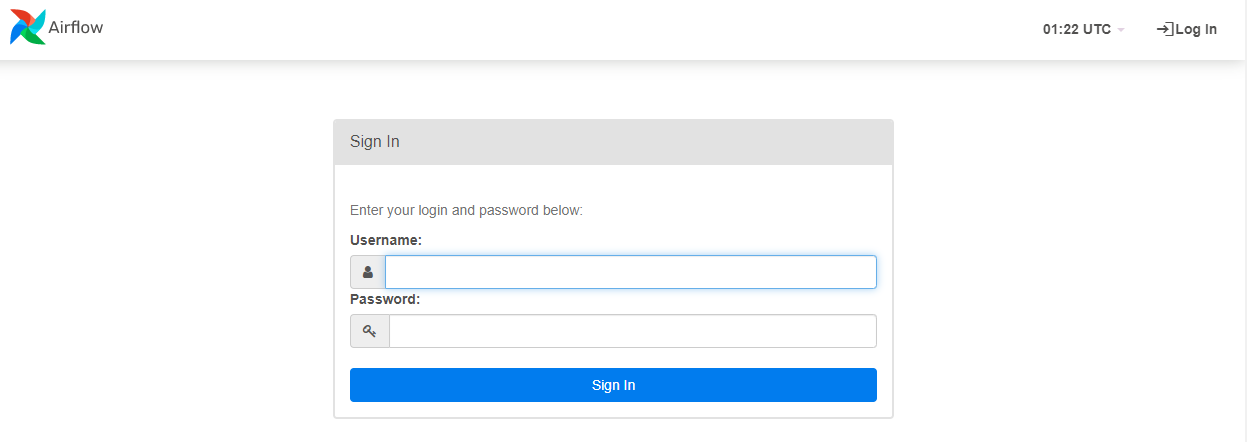
로그인
아이디 :airflow
비번 :
cd dags
airflow dbinit
aiflow us,,,,
airflow webserber -p 8081