from tokenize import Token from pyspark.ml import Pipeline from pyspark.ml.classification import LogisticRegression from pyspark.ml.feature import HashingTF, Tokenizer
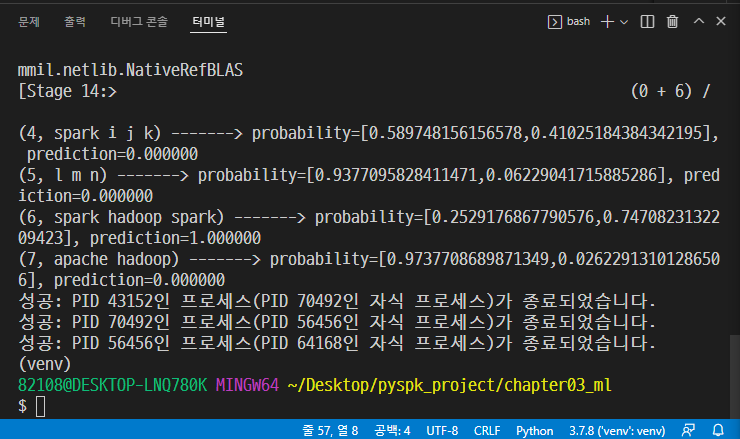
# 가상의 데이터 만들기 training = spark.createDataFrame([ (0, "a b c d e spark", 1.0), (1, "b d", 0.0), (2, "spark f g h", 1.0), (3, "hadoop mapreduce", 0.0) ], ["id", "text", "label"])
# Feature Engineering # 요리 작업
# 요리준비 1단계 : 텍스트를 단어로 분리 tokenizer = Tokenizer(inputCol='text', outputCol='words')
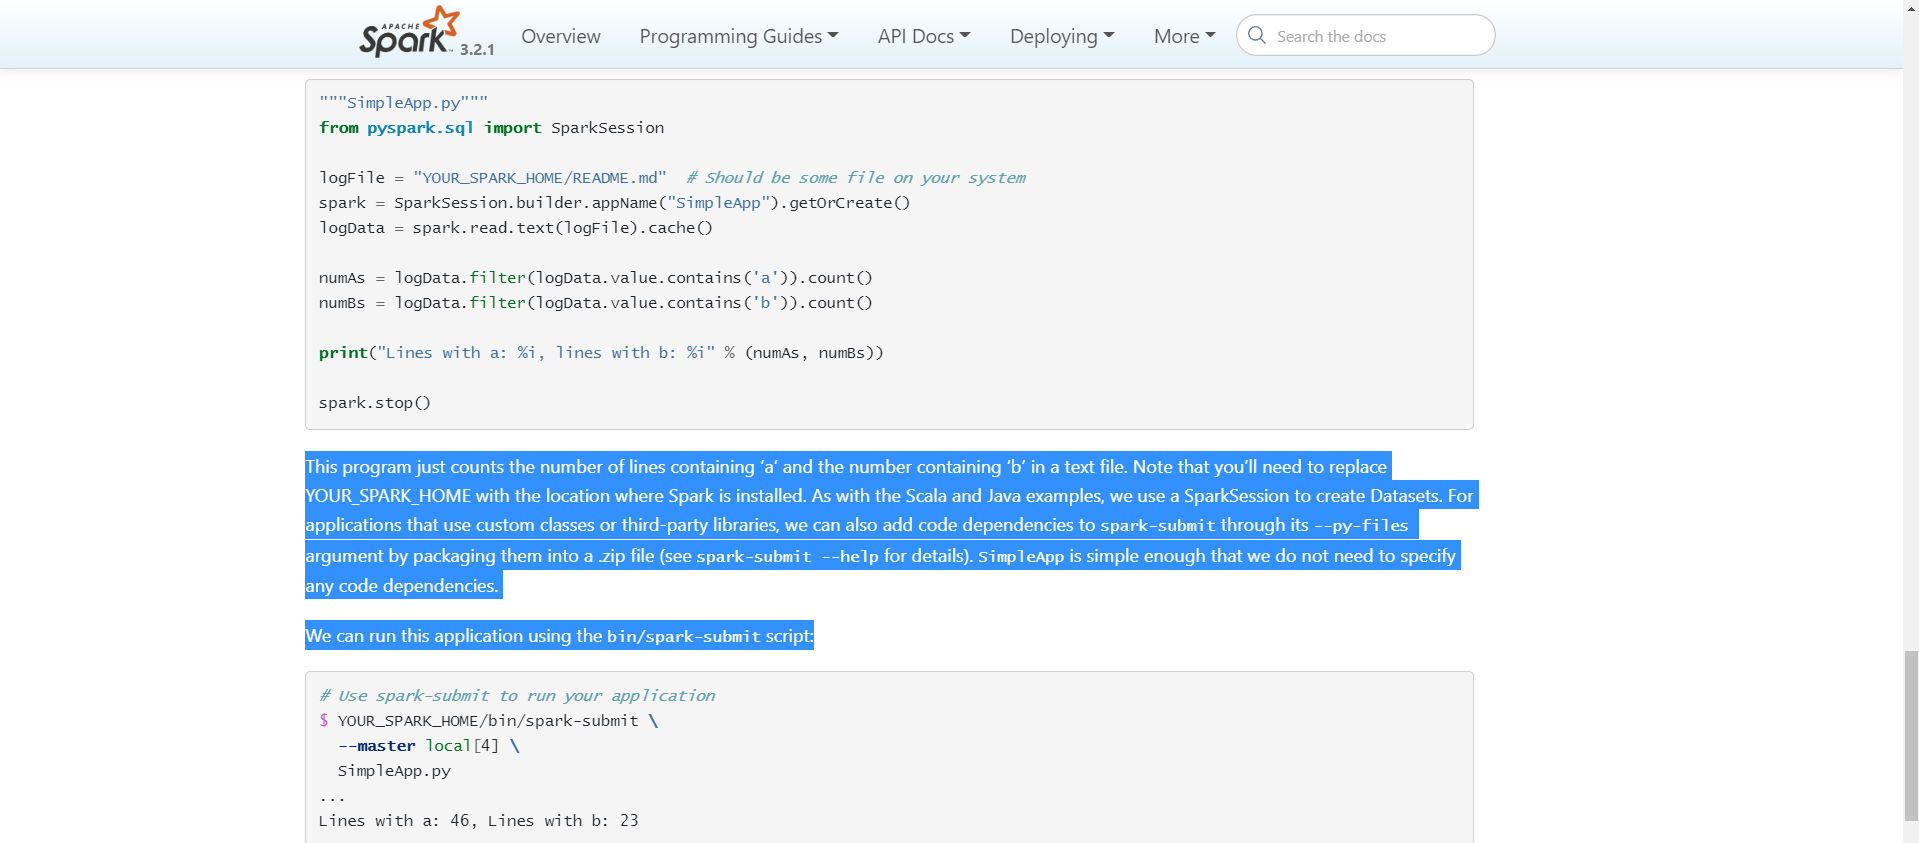
This program just counts the number of lines containing 'a' and the number containing 'b' in a text file. Note that you'll need to replace YOUR_SPARK_HOME with the location where Spark is installed. As with the Scala and Java examples, we use a SparkSession to create Datasets. For applications that use custom classes or third-party libraries, we can also add code dependencies to spark-submit through its --py-files argument by packaging them into a .zip file (see spark-submit --help for details). SimpleApp is simple enough that we do not need to specify any code dependencies.
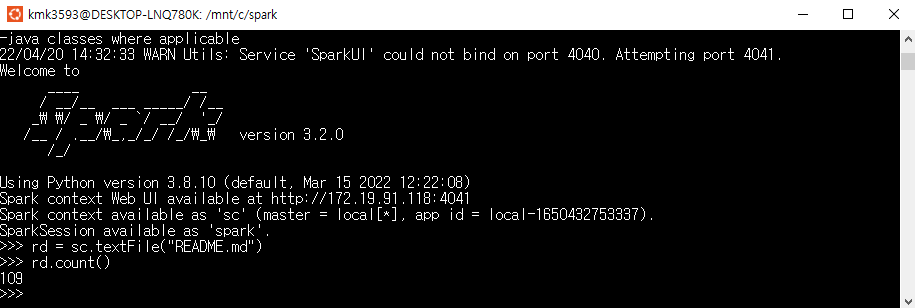
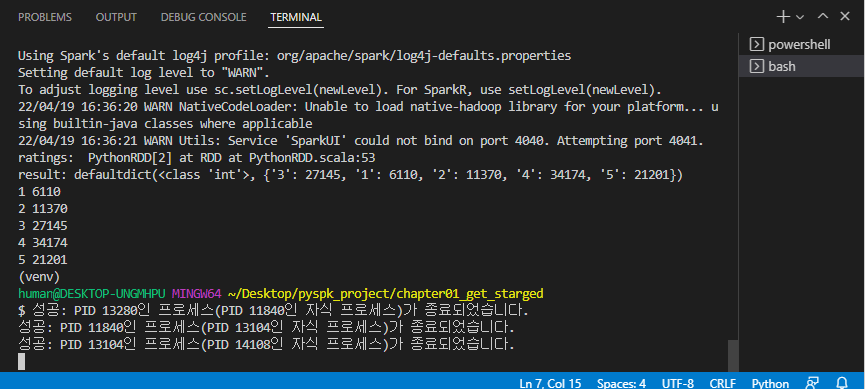
We can run this application using the bin/spark-submit script:
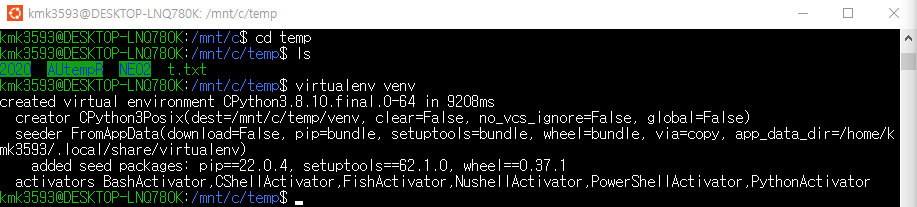
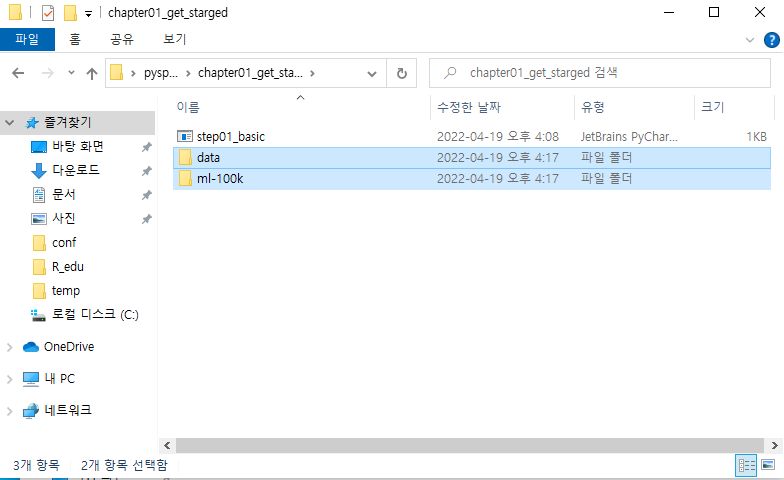
→mkdir data
→cd data
→ls
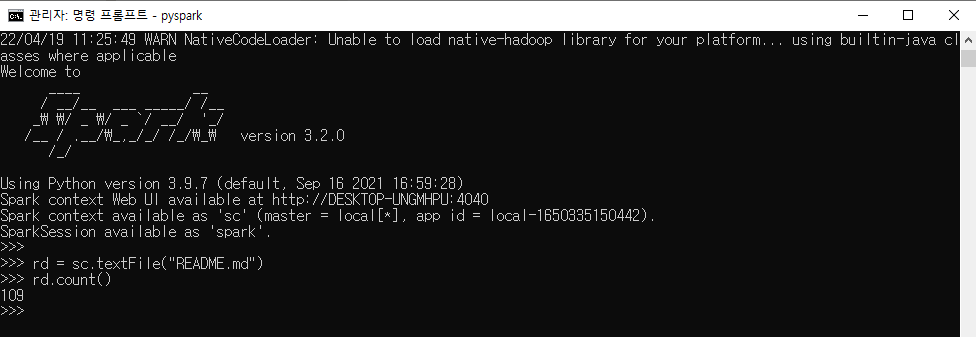
→vi README.md
→ 위에서 복사한 내용을 붙여넣는다.
→ :wq
→ 내용 확인cat README.md
→ cd ..
→ vi SimpleApp.py
→ 코드 작성
1 2 3 4 5 6 7 8 9 10 11 12 13 14
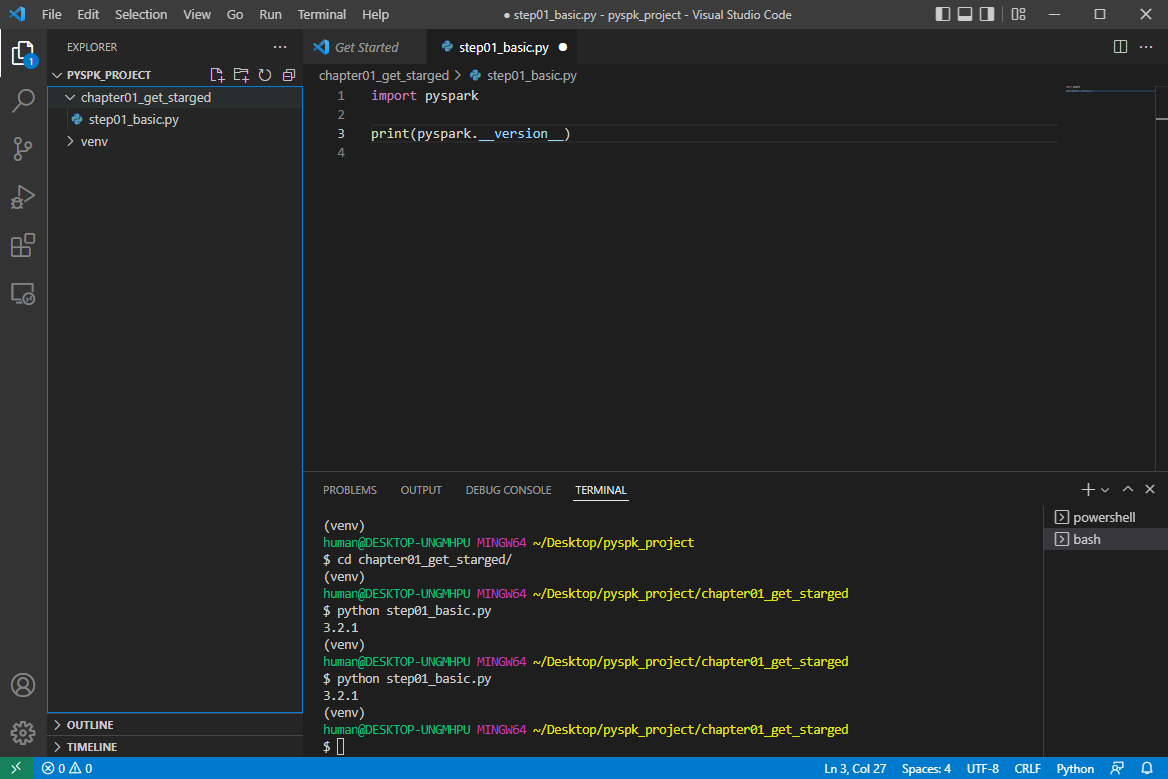
from pyspark.sql import SparkSession
logFile = "data/README.md" # Should be some file on your system spark = SparkSession.builder.appName("SimpleApp").getOrCreate() logData = spark.read.text(logFile).cache()
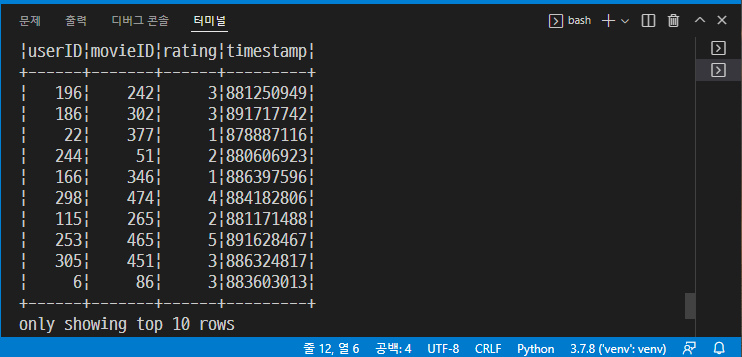
from struct import Struct from pyspark.sql import SparkSession from pyspark.sql import functions as func from pyspark.sql.types import StructType, StructField, IntegerType, LongType
from pyspark.sql import SparkSession from pyspark.sql import functions as func from pyspark.sql.types import StructType, StructField, IntegerType, LongType import codecs
print("Hello")
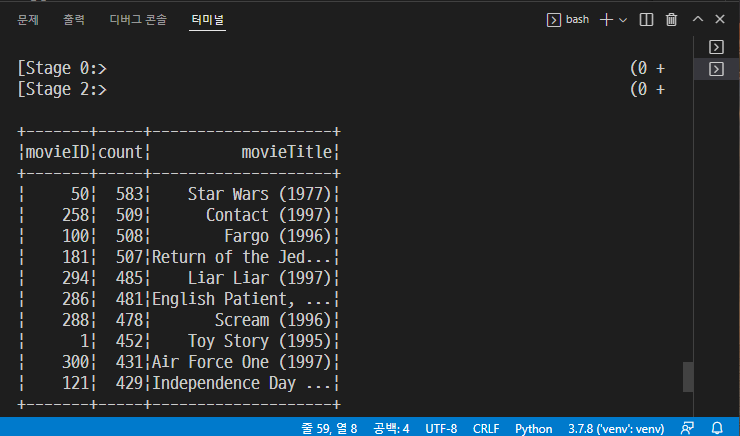
defloadMovieNames(): movieNames = {} with codecs.open("ml-100k/u.ITEM", "r", encoding="ISO-8859-1", errors="ignore") as f: for line in f: fields = line.split("|") movieNames[int(fields[0])] = fields[1] return movieNames